The three types of NZ road signs
Most signs on New Zealand roads are international symbolic signs - the same shapes and symbols used in many other countries - so you can read them quickly. They’re generally reflective so they’re easier to see at night.
The Official NZ Road Code groups signs into three types:
- Compulsory signs - what you must or must not do
- Warning signs - hazards ahead (permanent or temporary)
- Information signs - useful guidance (routes, distances, places)
Theory tip: Temporary orange signs aren’t a fourth category. They’re temporary warning signs (and some temporary information signs). Don’t invent a fourth “main type” in the exam.
Compulsory signs - what you must or must not do
Compulsory (regulatory) signs tell you what you must or must not do. They’re usually red or blue. Some compulsory signs have red borders.
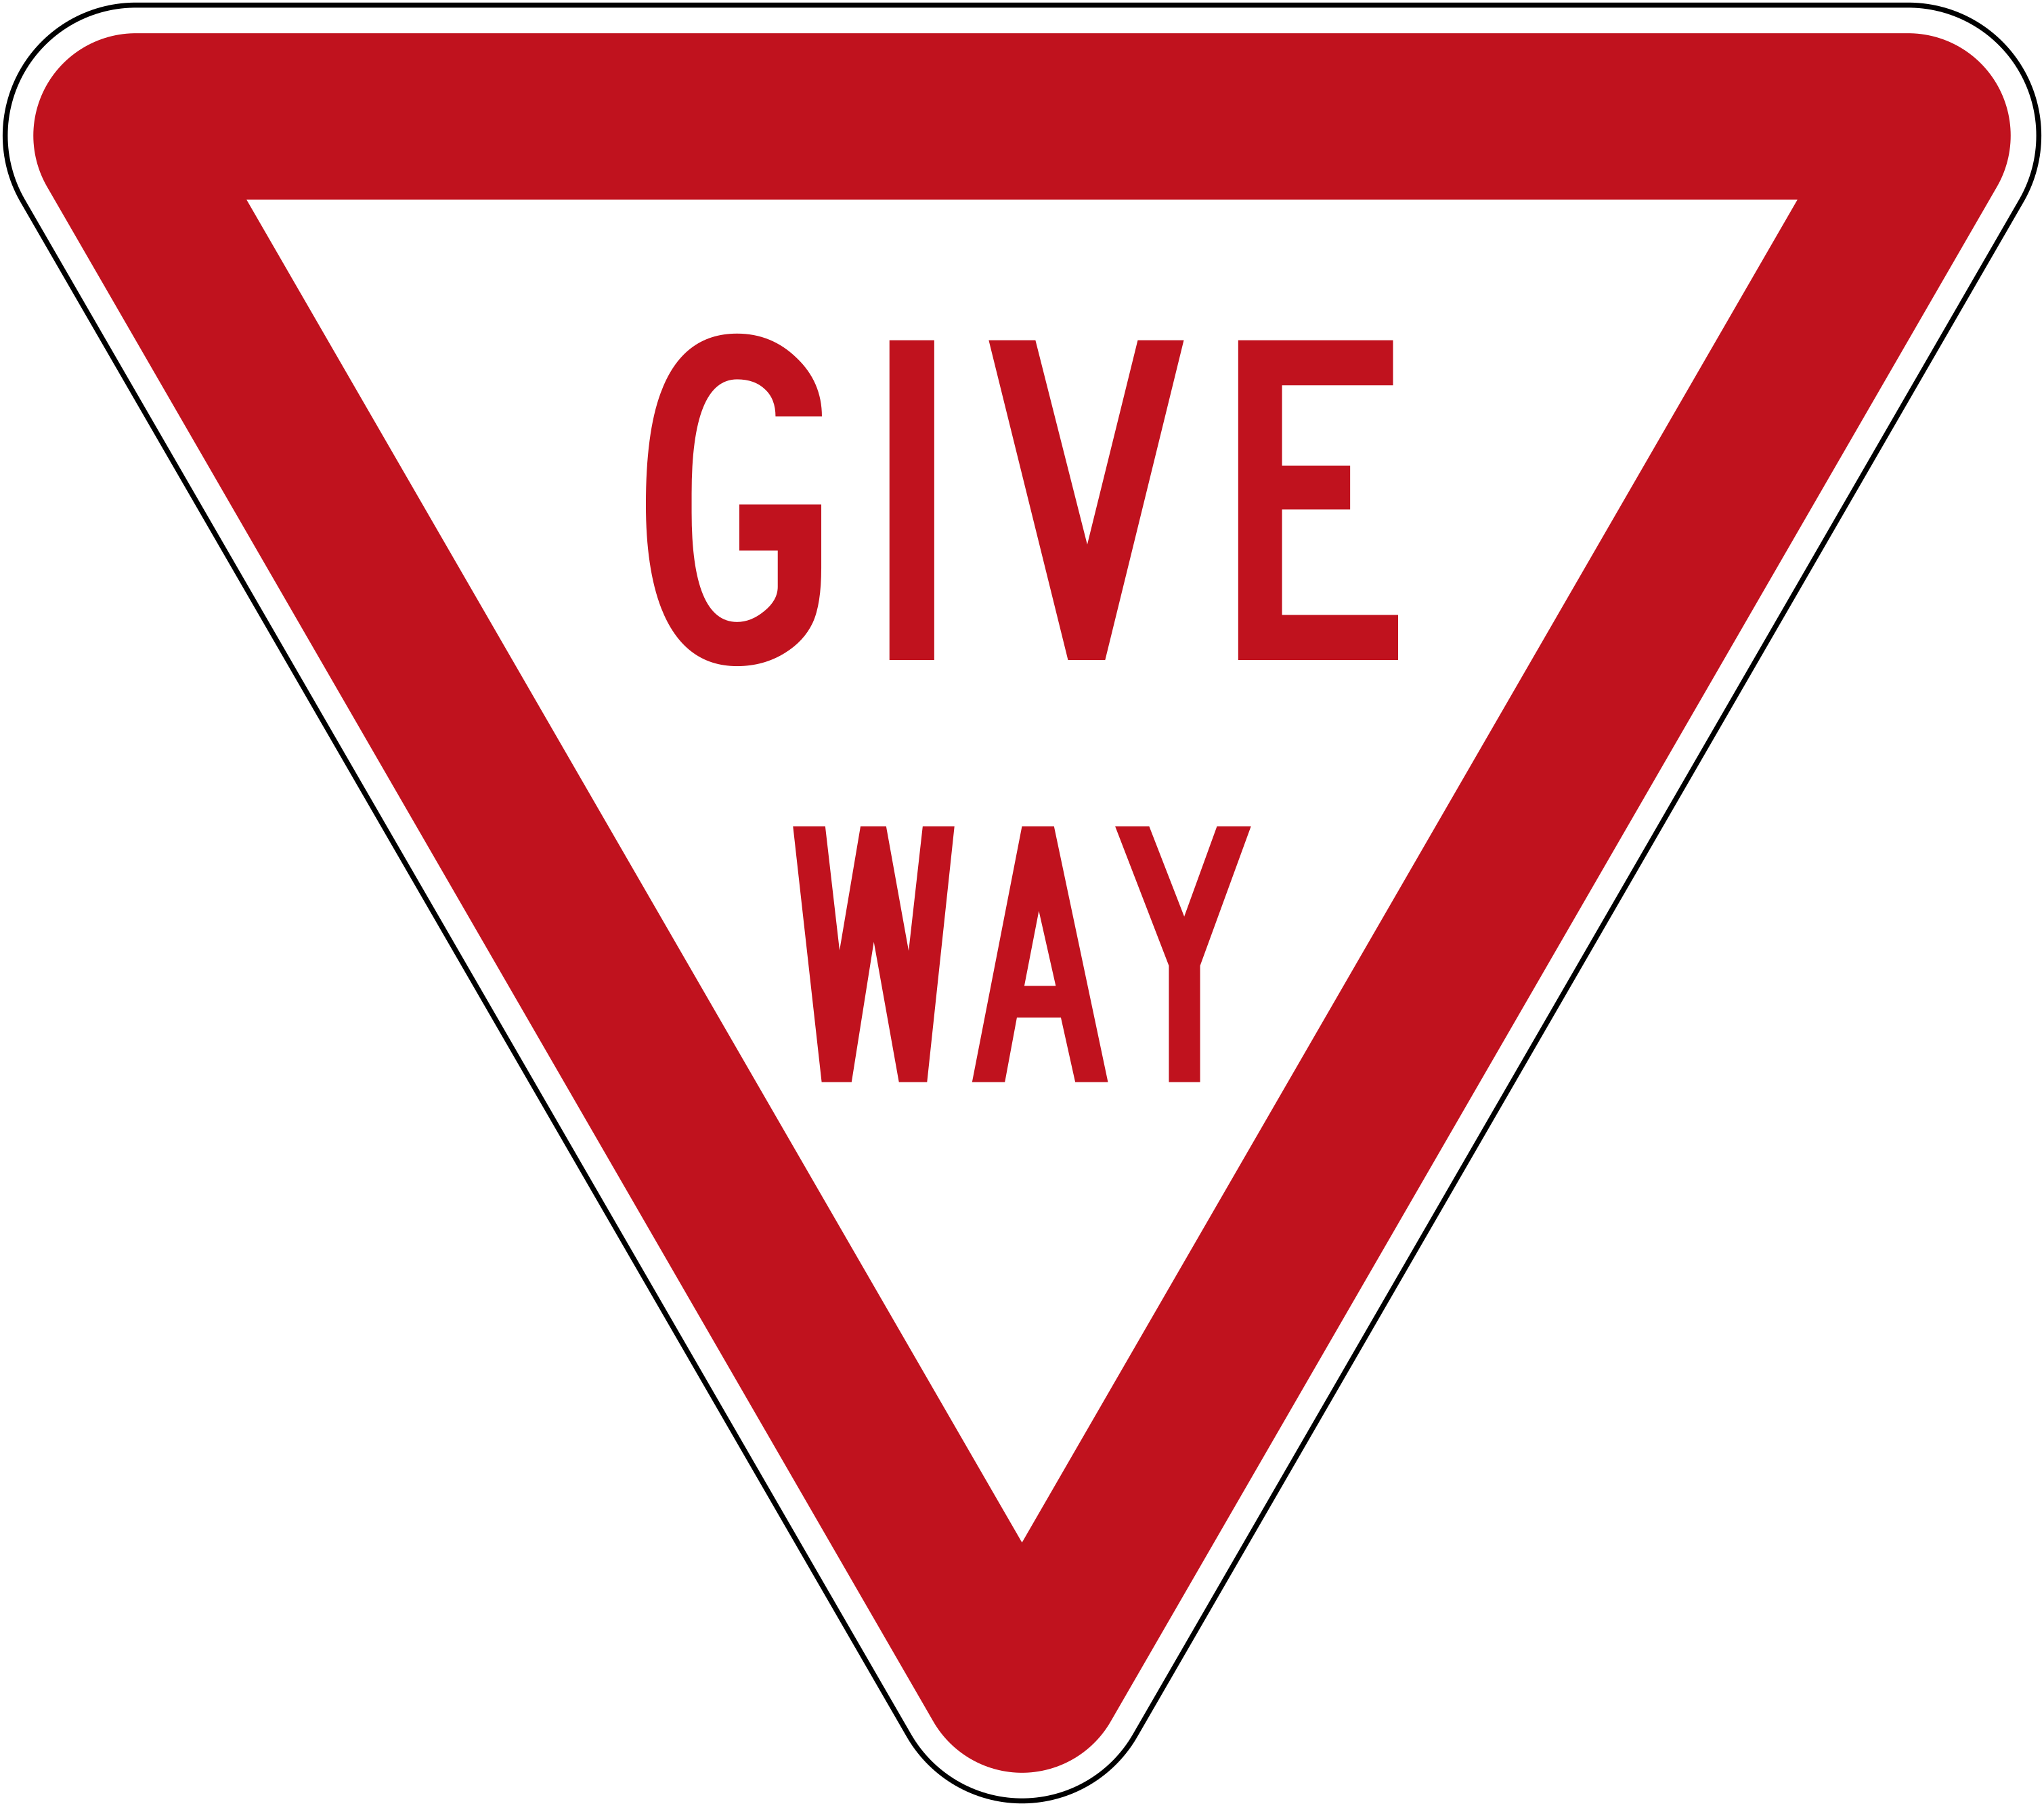
Stop and Give Way (the #1 mix-up)
Learners often treat these as the same. They’re not.
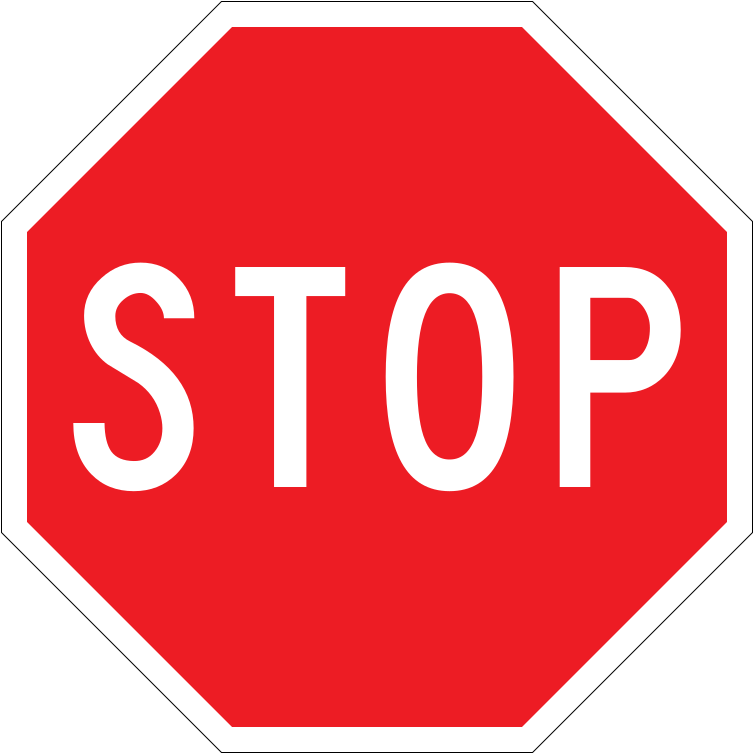
- Stop: Come to a complete stop (don’t just slow down). Stop where you can see traffic from all directions. Stay stopped until you’ve given way to all other vehicles (including cycles and motorcycles). A yellow line and the word STOP are painted on the road.
- Give Way: Slow down and be ready to stop. Give way to all other vehicles except those facing a Stop sign. A white line and a triangle marking are painted on a sealed road.
Exam trap: If one car faces Stop and another faces Give Way, the driver at the Stop sign gives way to the driver at the Give Way sign.
Speed limits and “no entry”
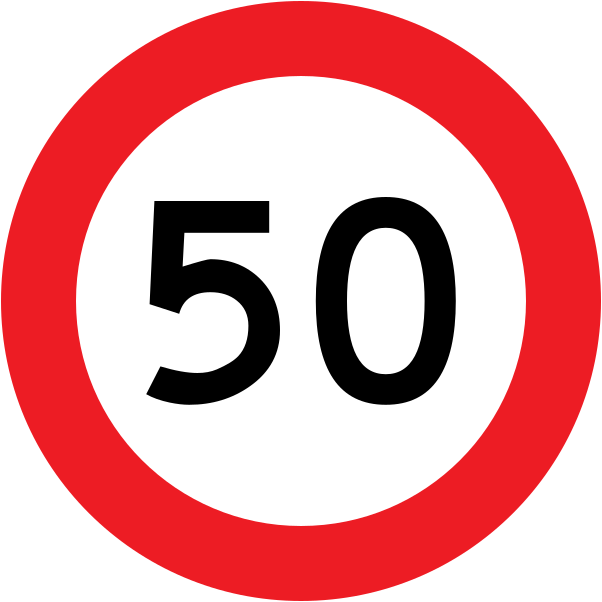
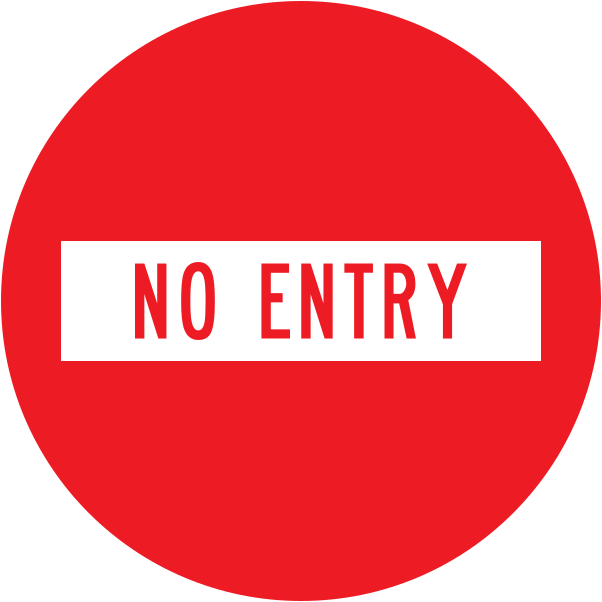
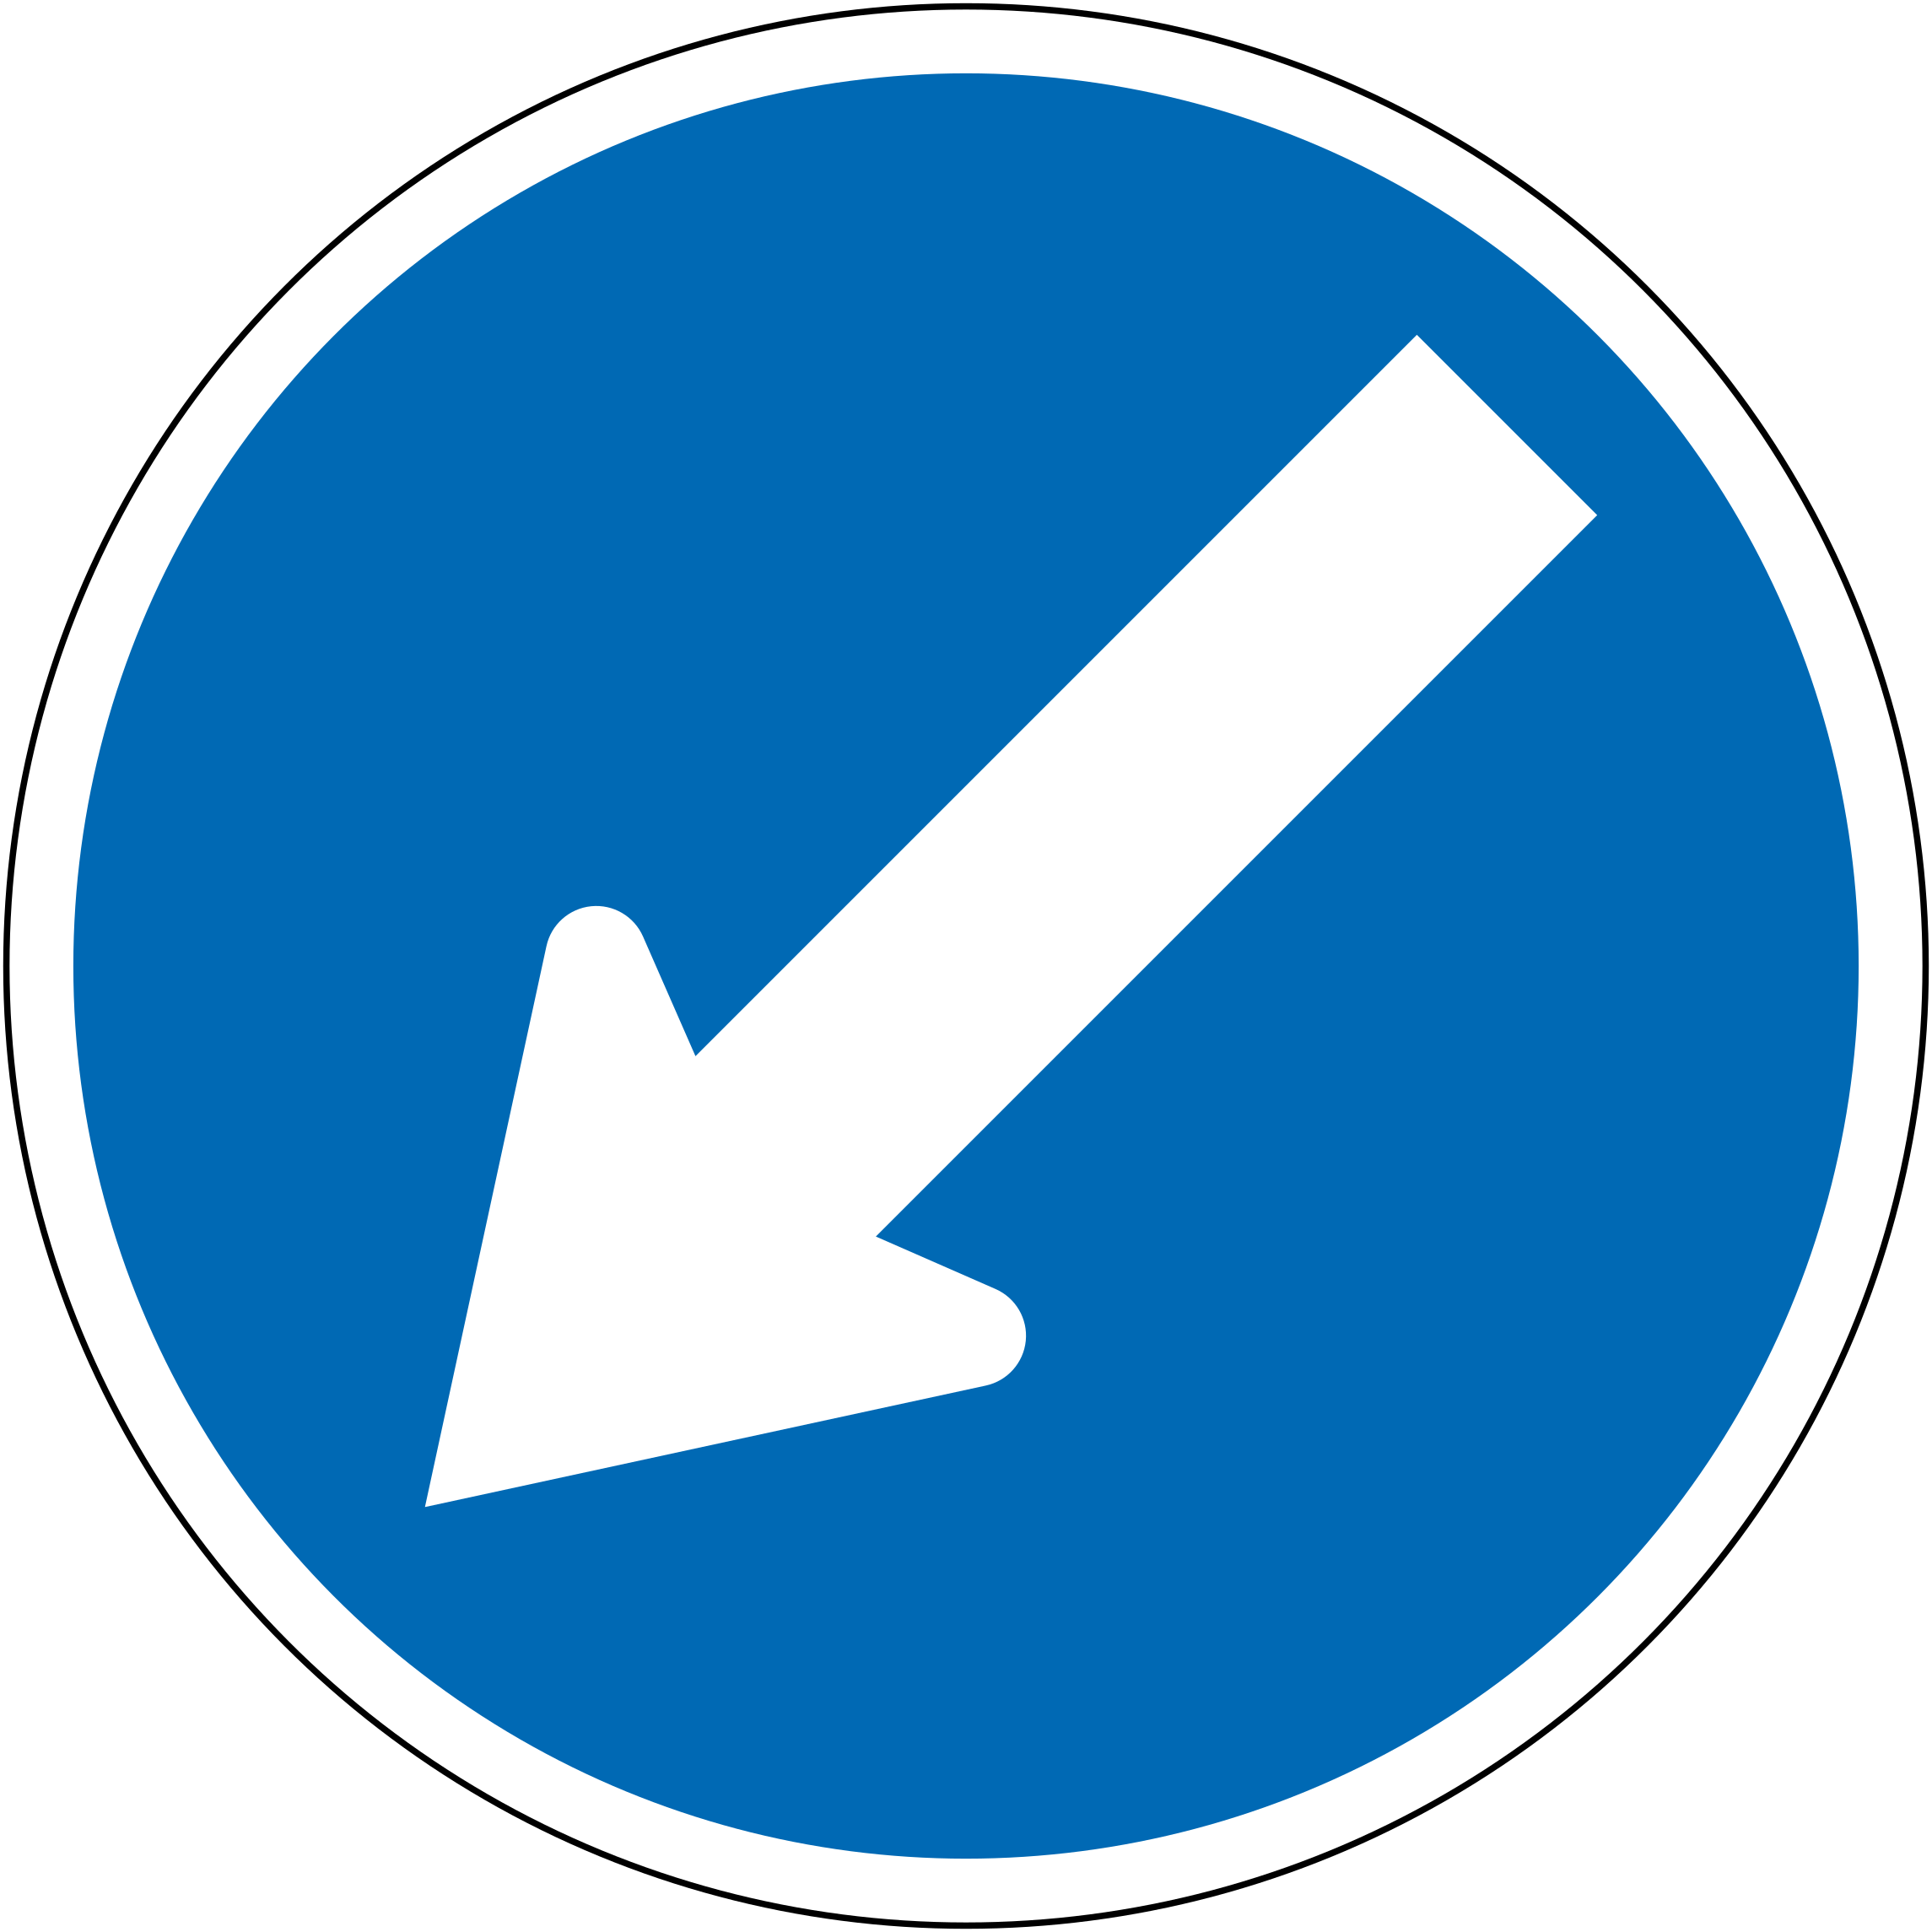
Other common compulsory meanings from the Road Code include: turn right / keep going straight ahead (blue circle arrows), no left turn, no U-turn, and school patrol Stop - you must stop.
Tricky ones: bus lanes vs transit lanes
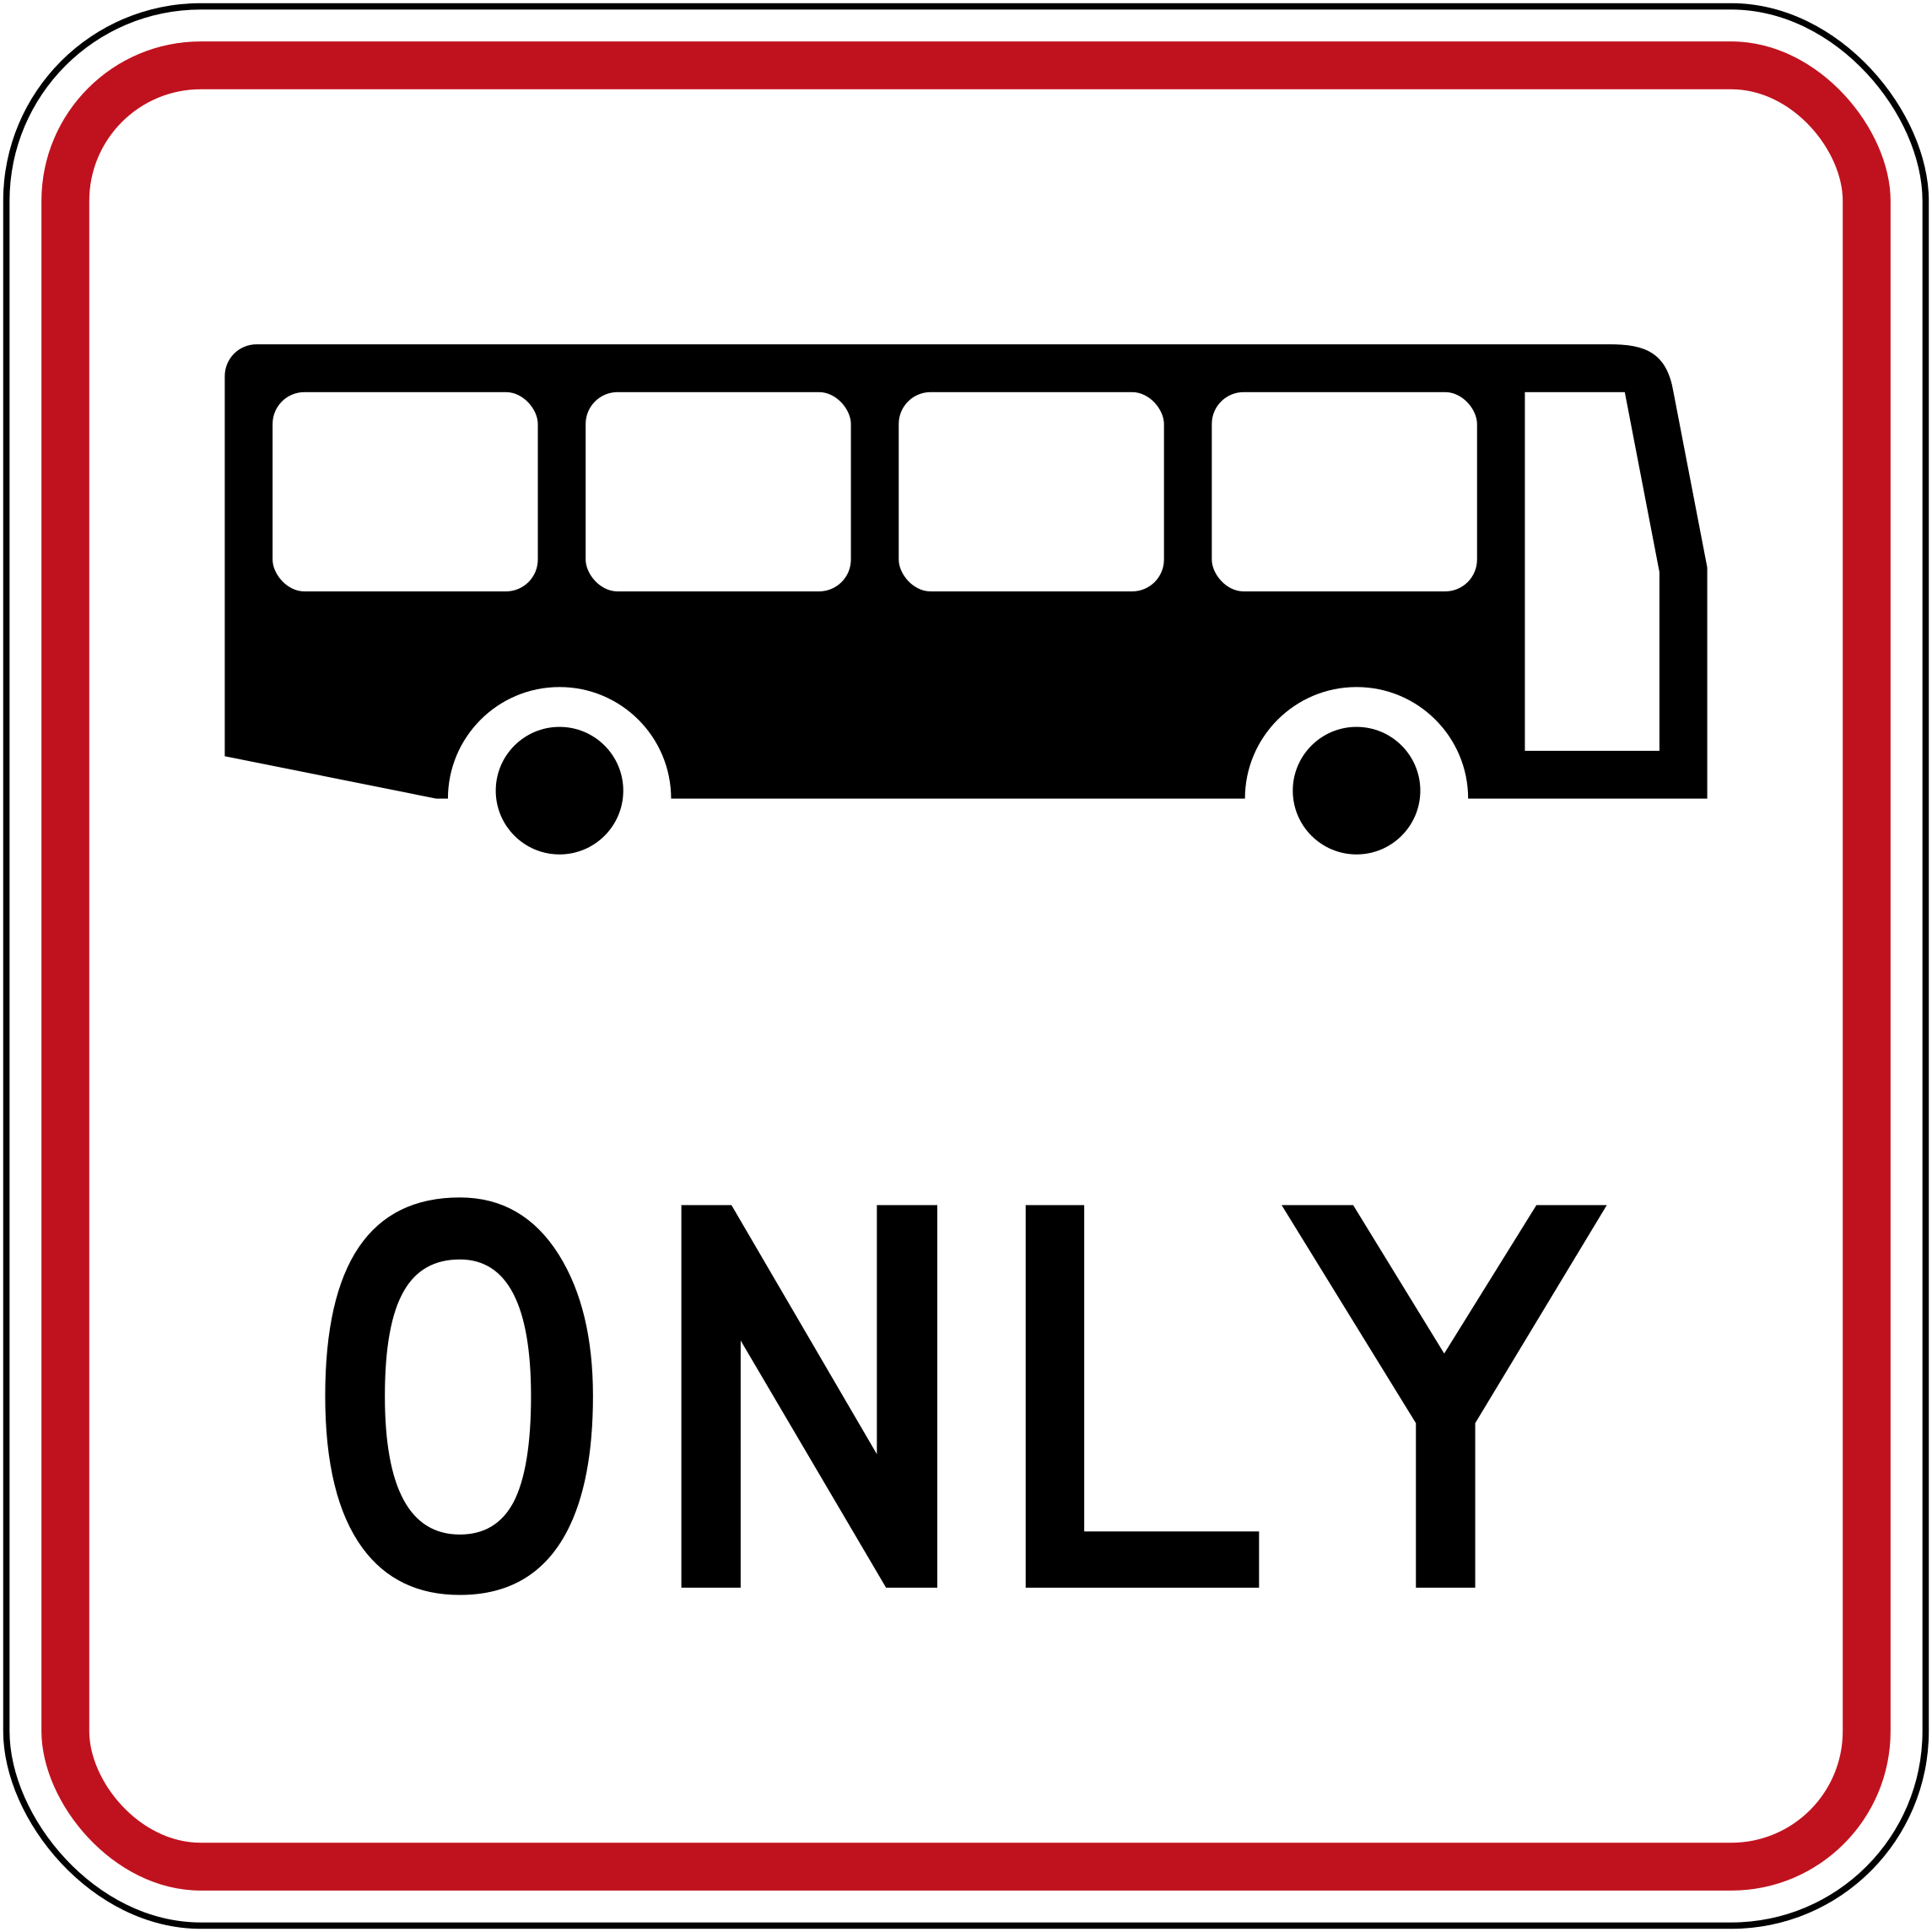
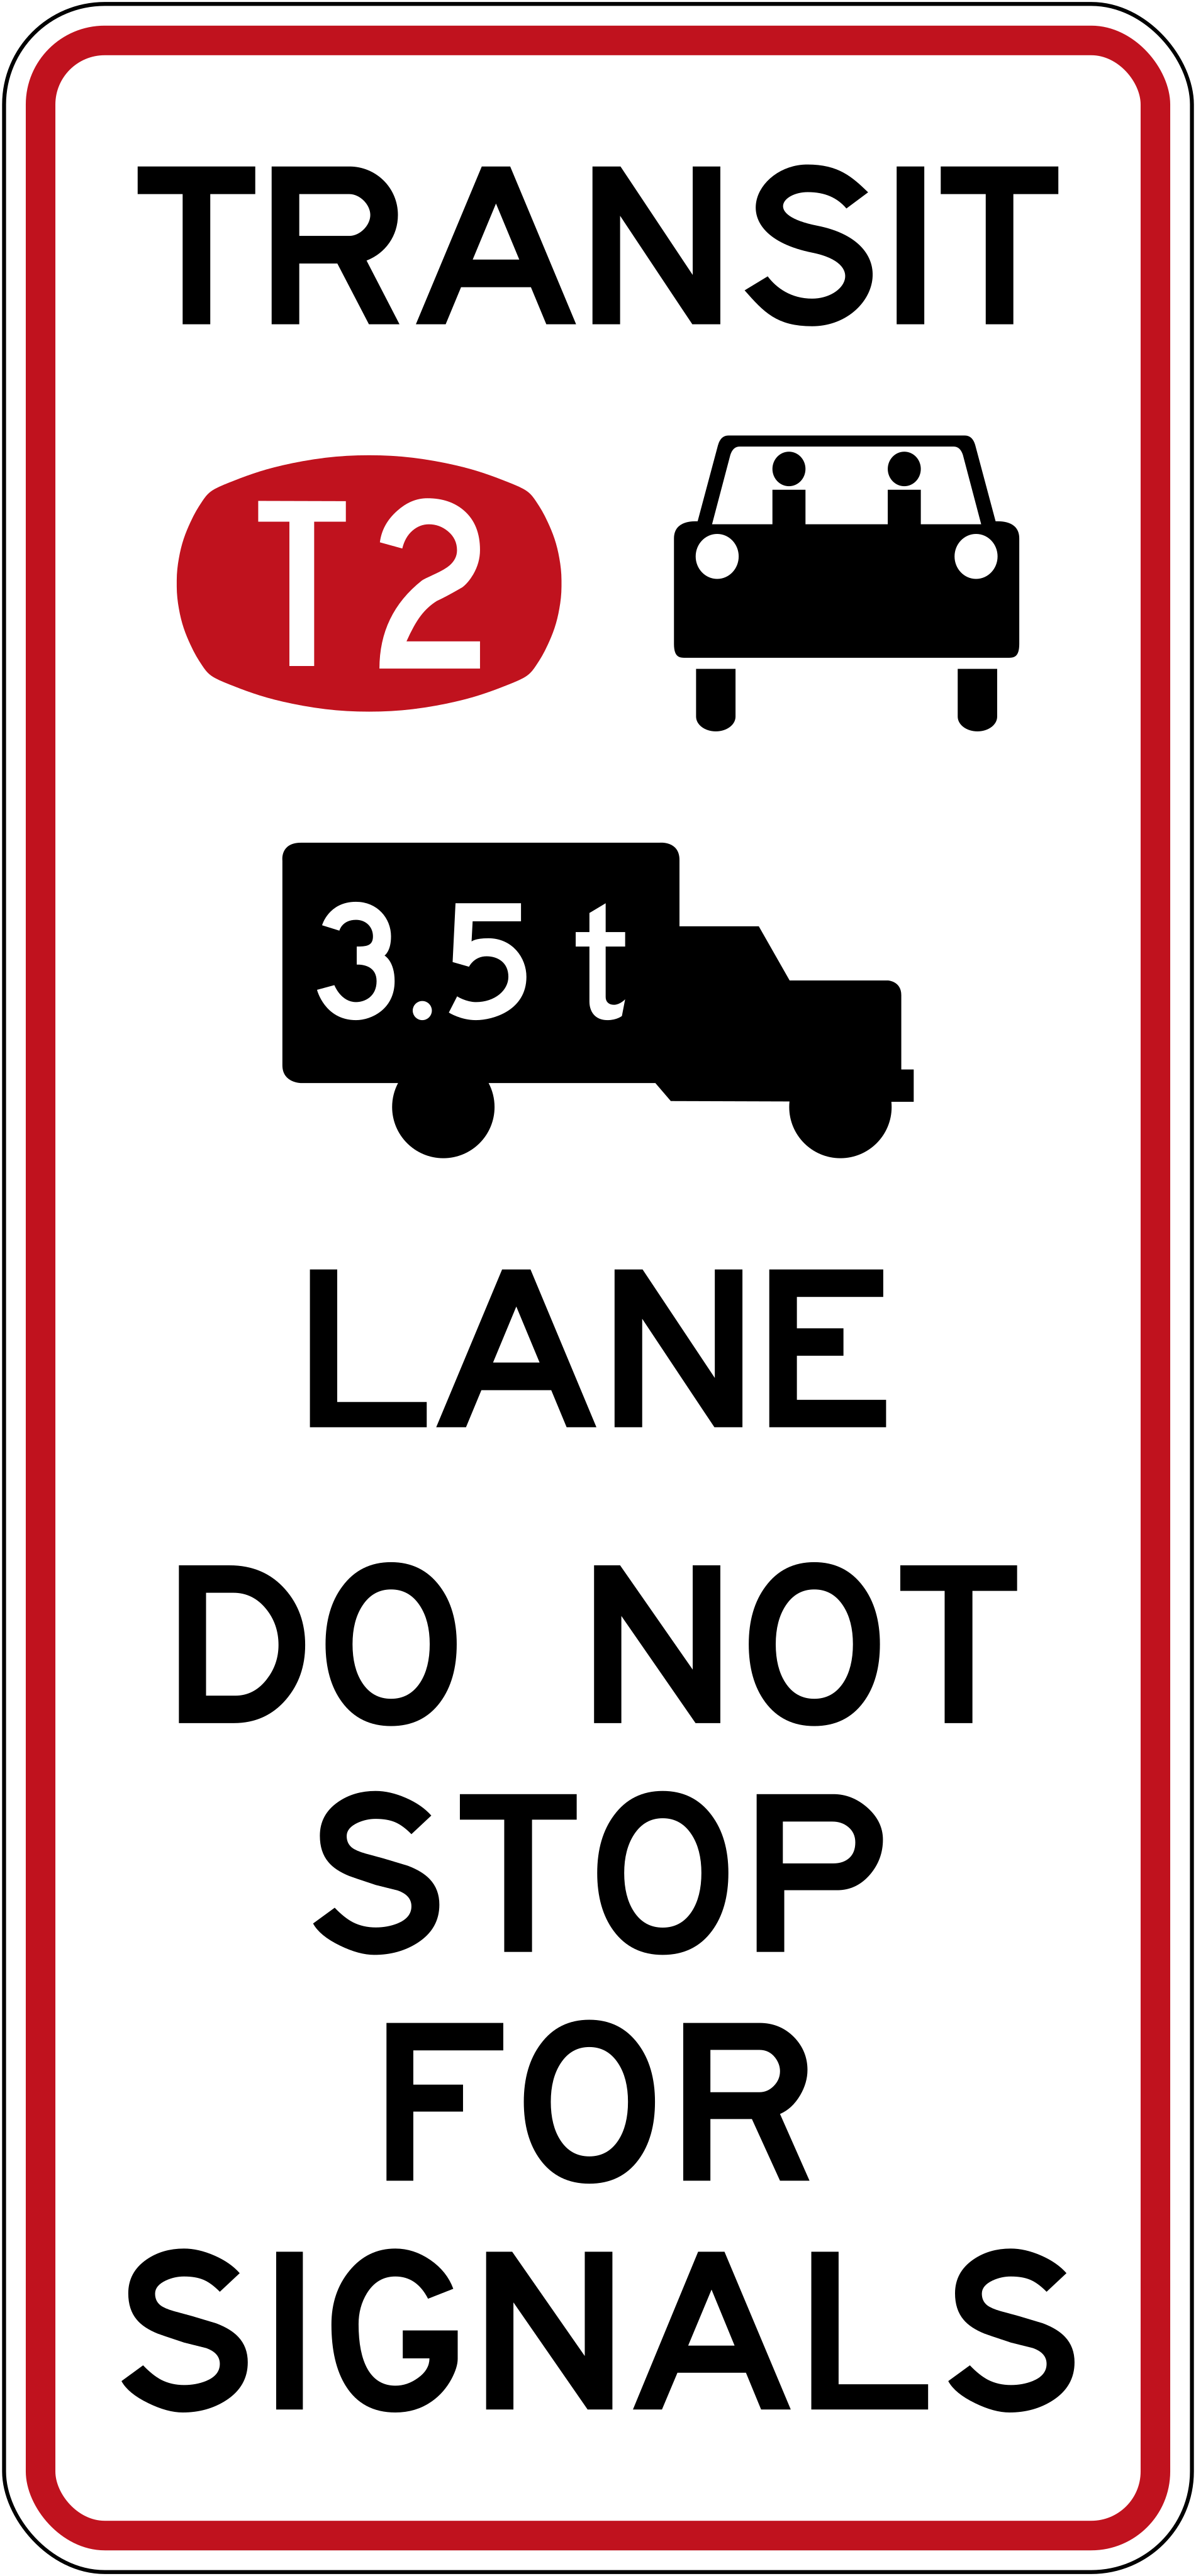
This is a classic theory stumble. Read the sign carefully - Bus lane, Bus only, and Transit lane are not the same.
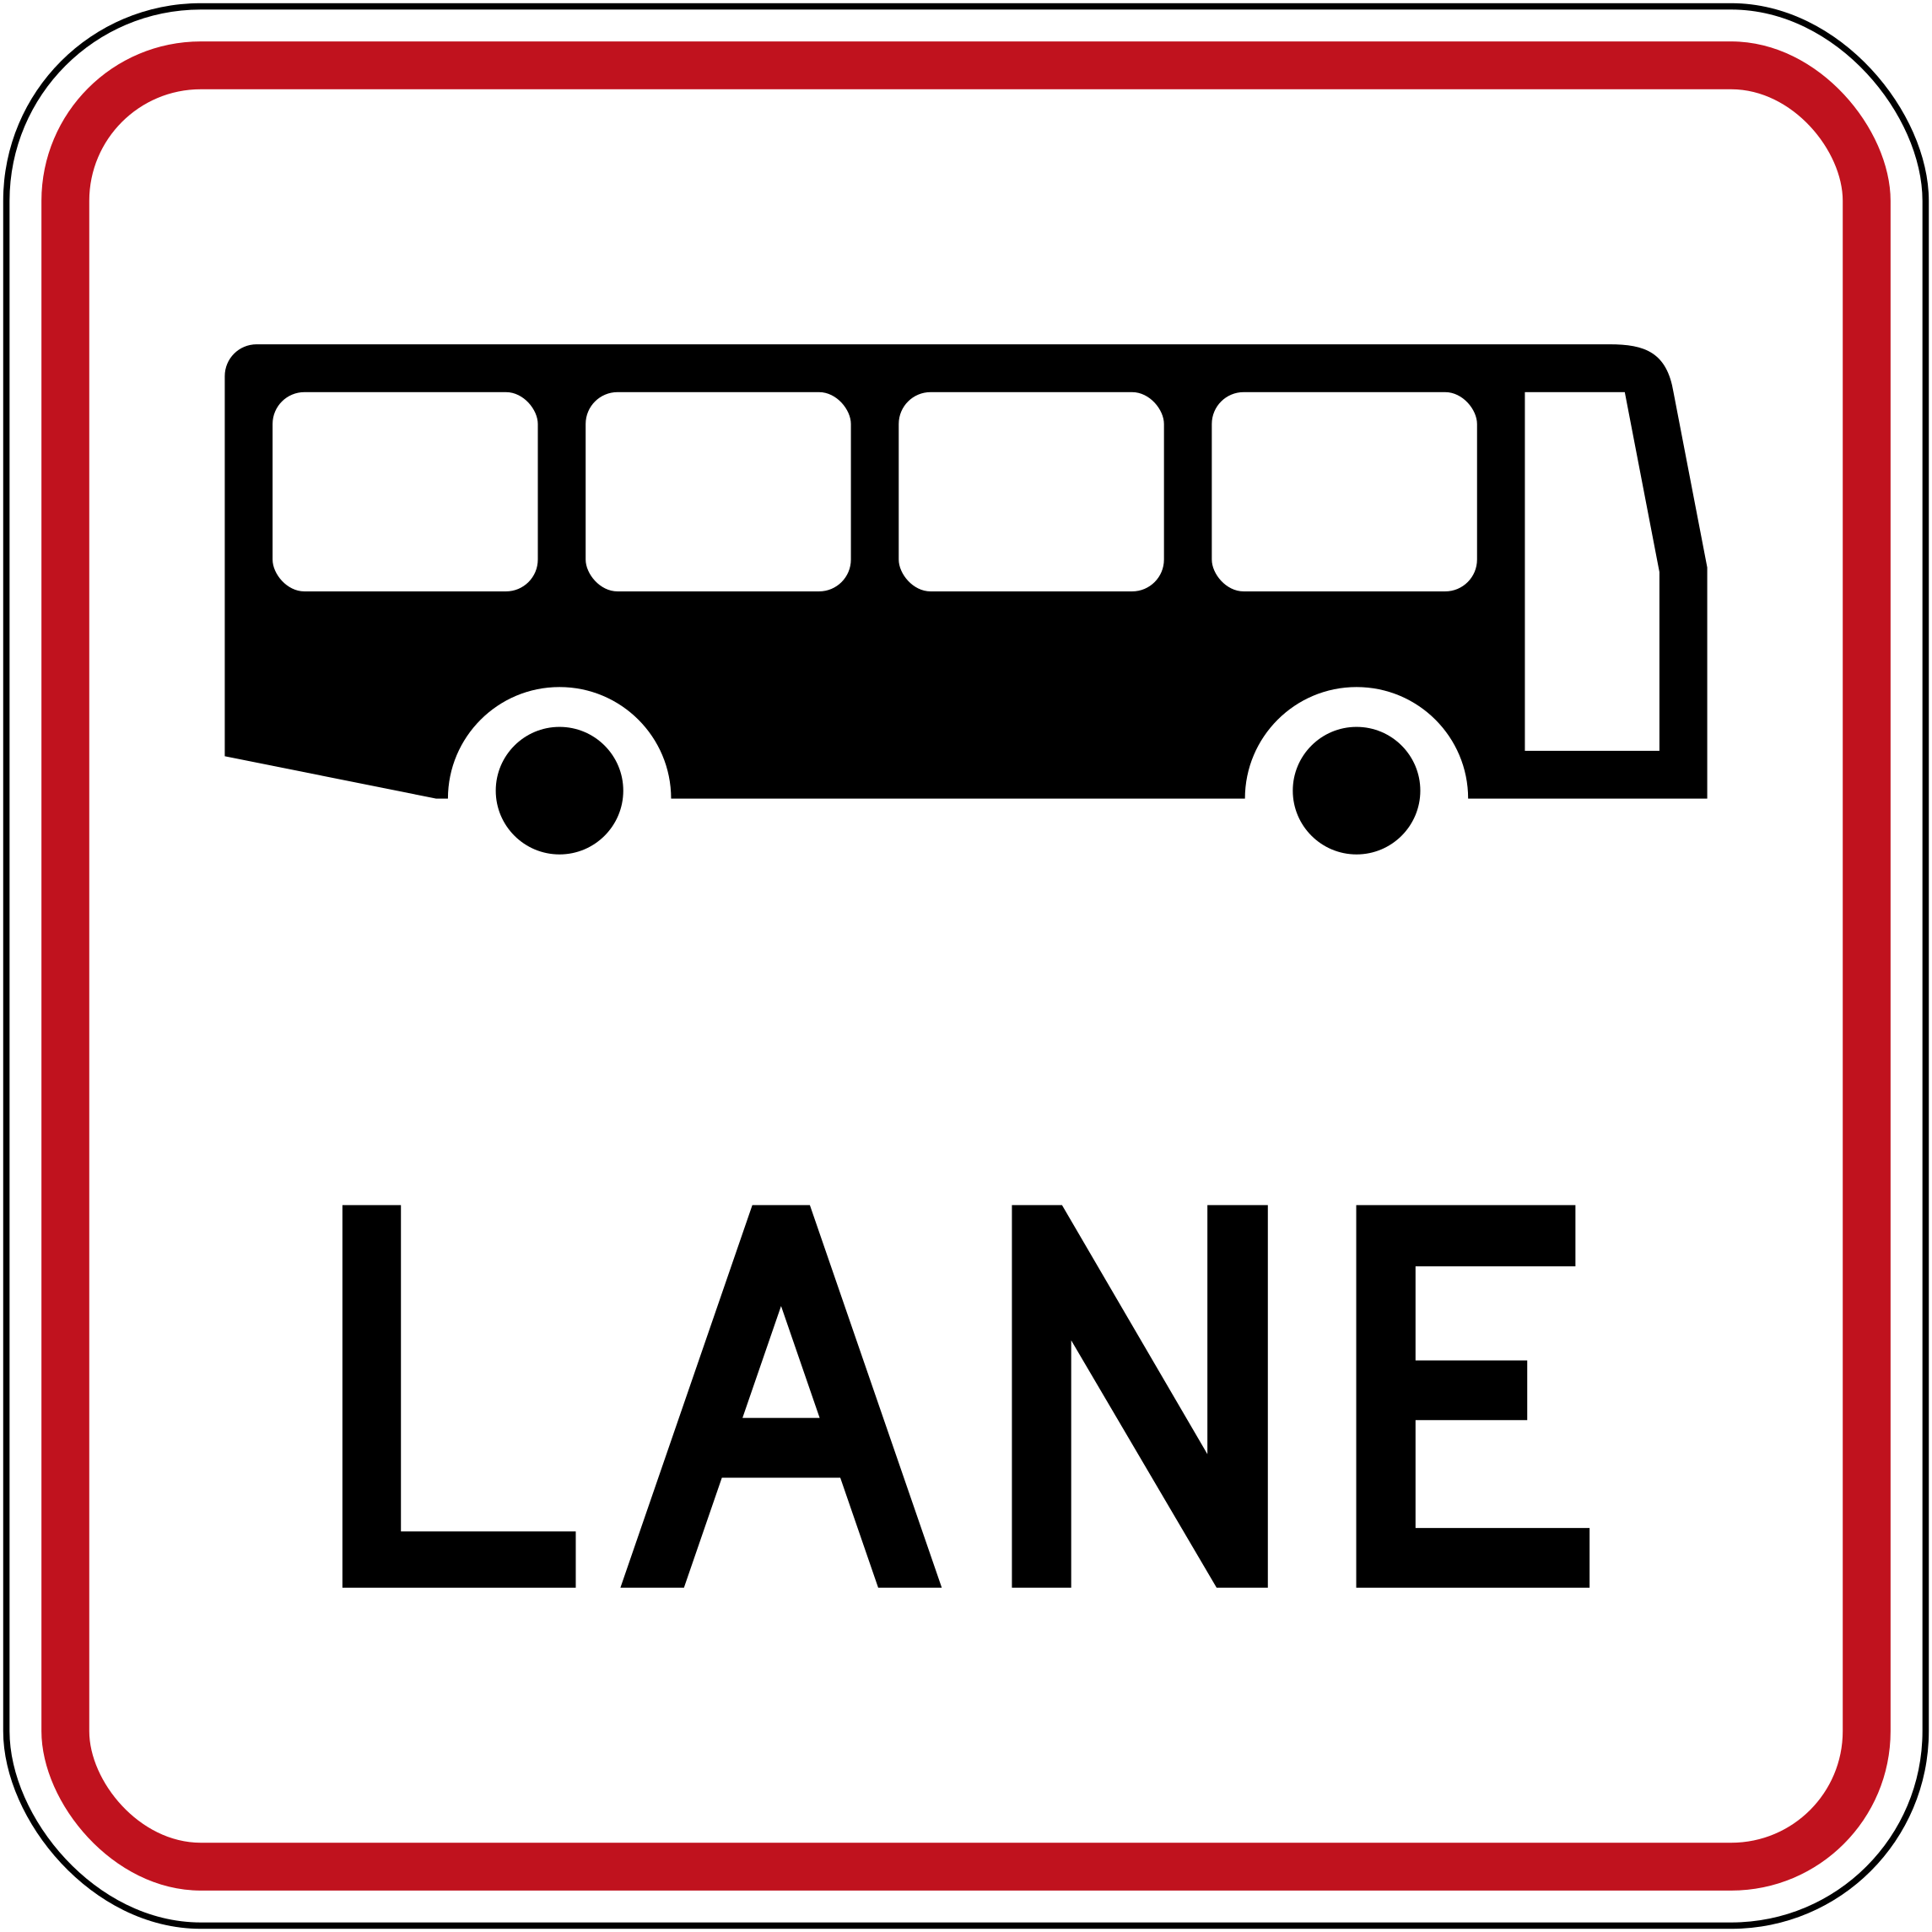
- Bus lane: Can also be used by cycles, motorcycles, and mopeds (unless signs exclude them).
- Bus only: Only buses may use the lane.
- Transit lane: Passenger service vehicles, cycles, motorcycles, mopeds, and vehicles carrying at least the number shown. T2 = 2 or more people; T3 = 3 or more. Some signs also allow trucks over 3.5 t, or say not to stop for ramp signals. Times on the sign matter - outside operating times, rules may differ.
Pain point: Don’t assume taxis or your car can use every “special” lane. Check whether it’s bus, bus-only, or transit - and how many people you need for T2/T3.
Also new (1 Oct 2026): giving way to a bus leaving a stop is a separate rule from lane access - see give way to buses NZ.
Warning signs - permanent (yellow) and temporary (orange)
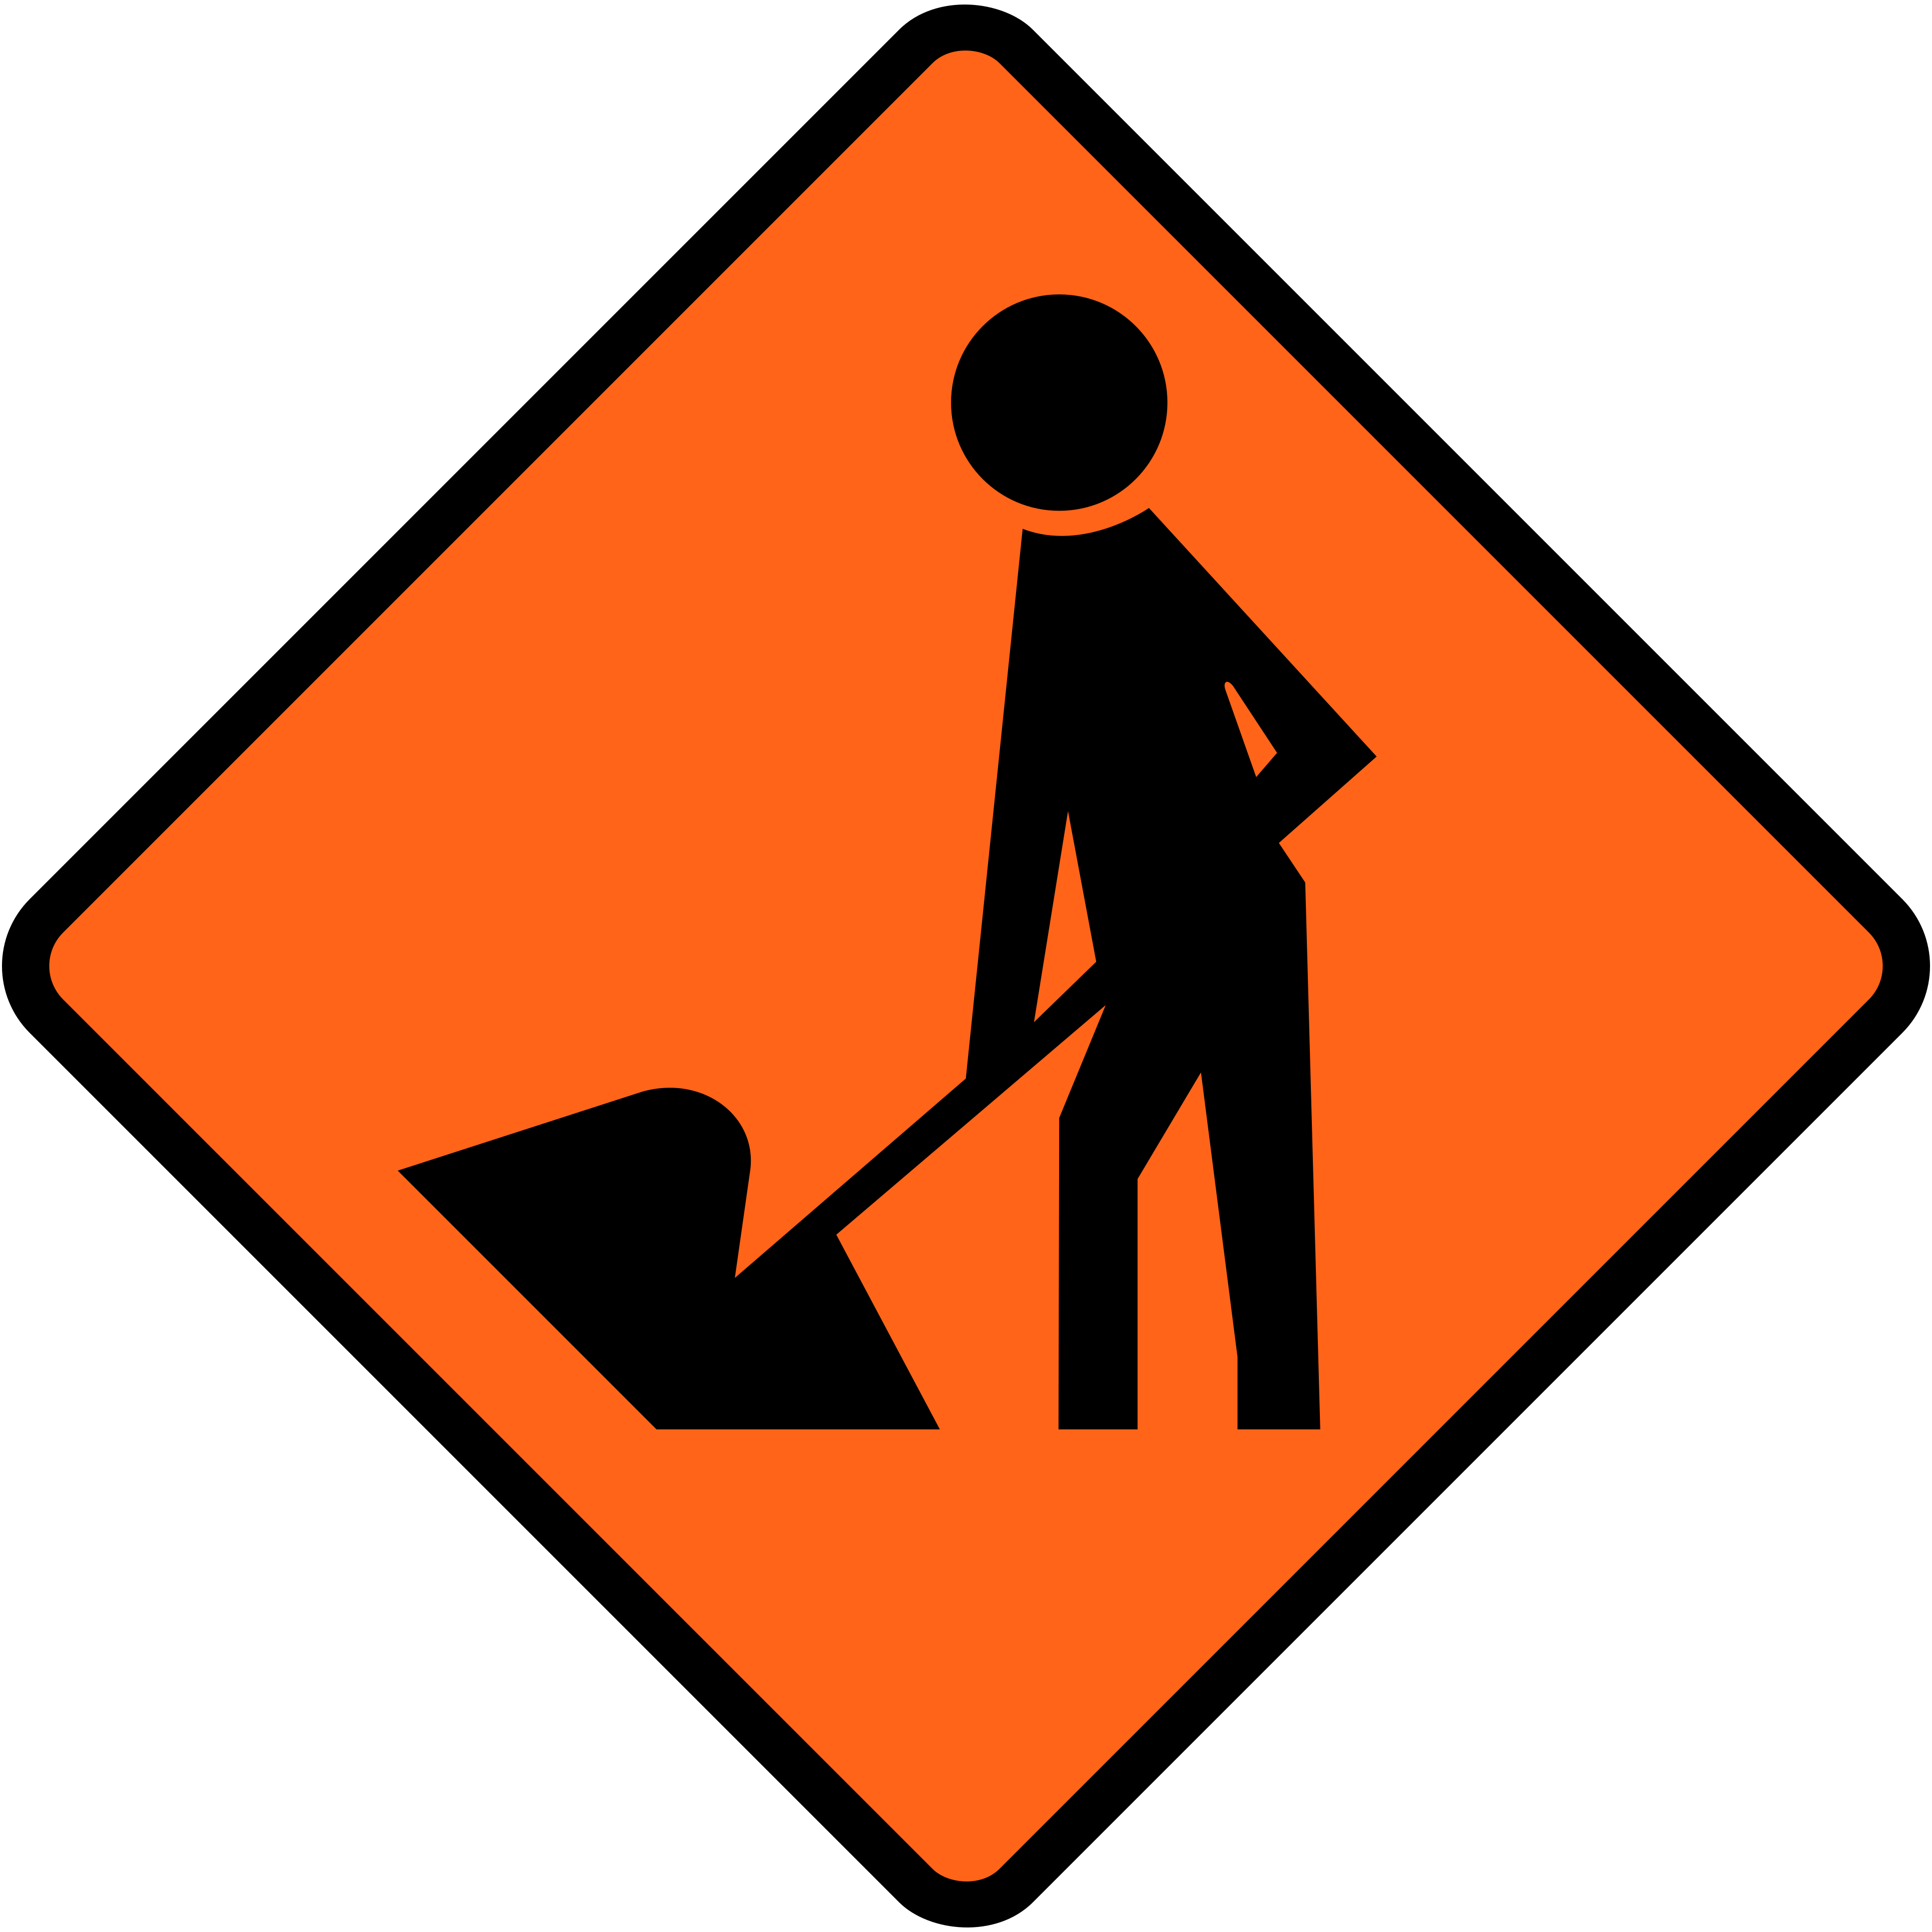
Warning signs alert you to a hazard ahead. Both permanent and temporary warning signs are usually diamond shaped.
- Permanent: yellow and black (e.g. pedestrian crossing, look out for children, slippery surface, road narrows)
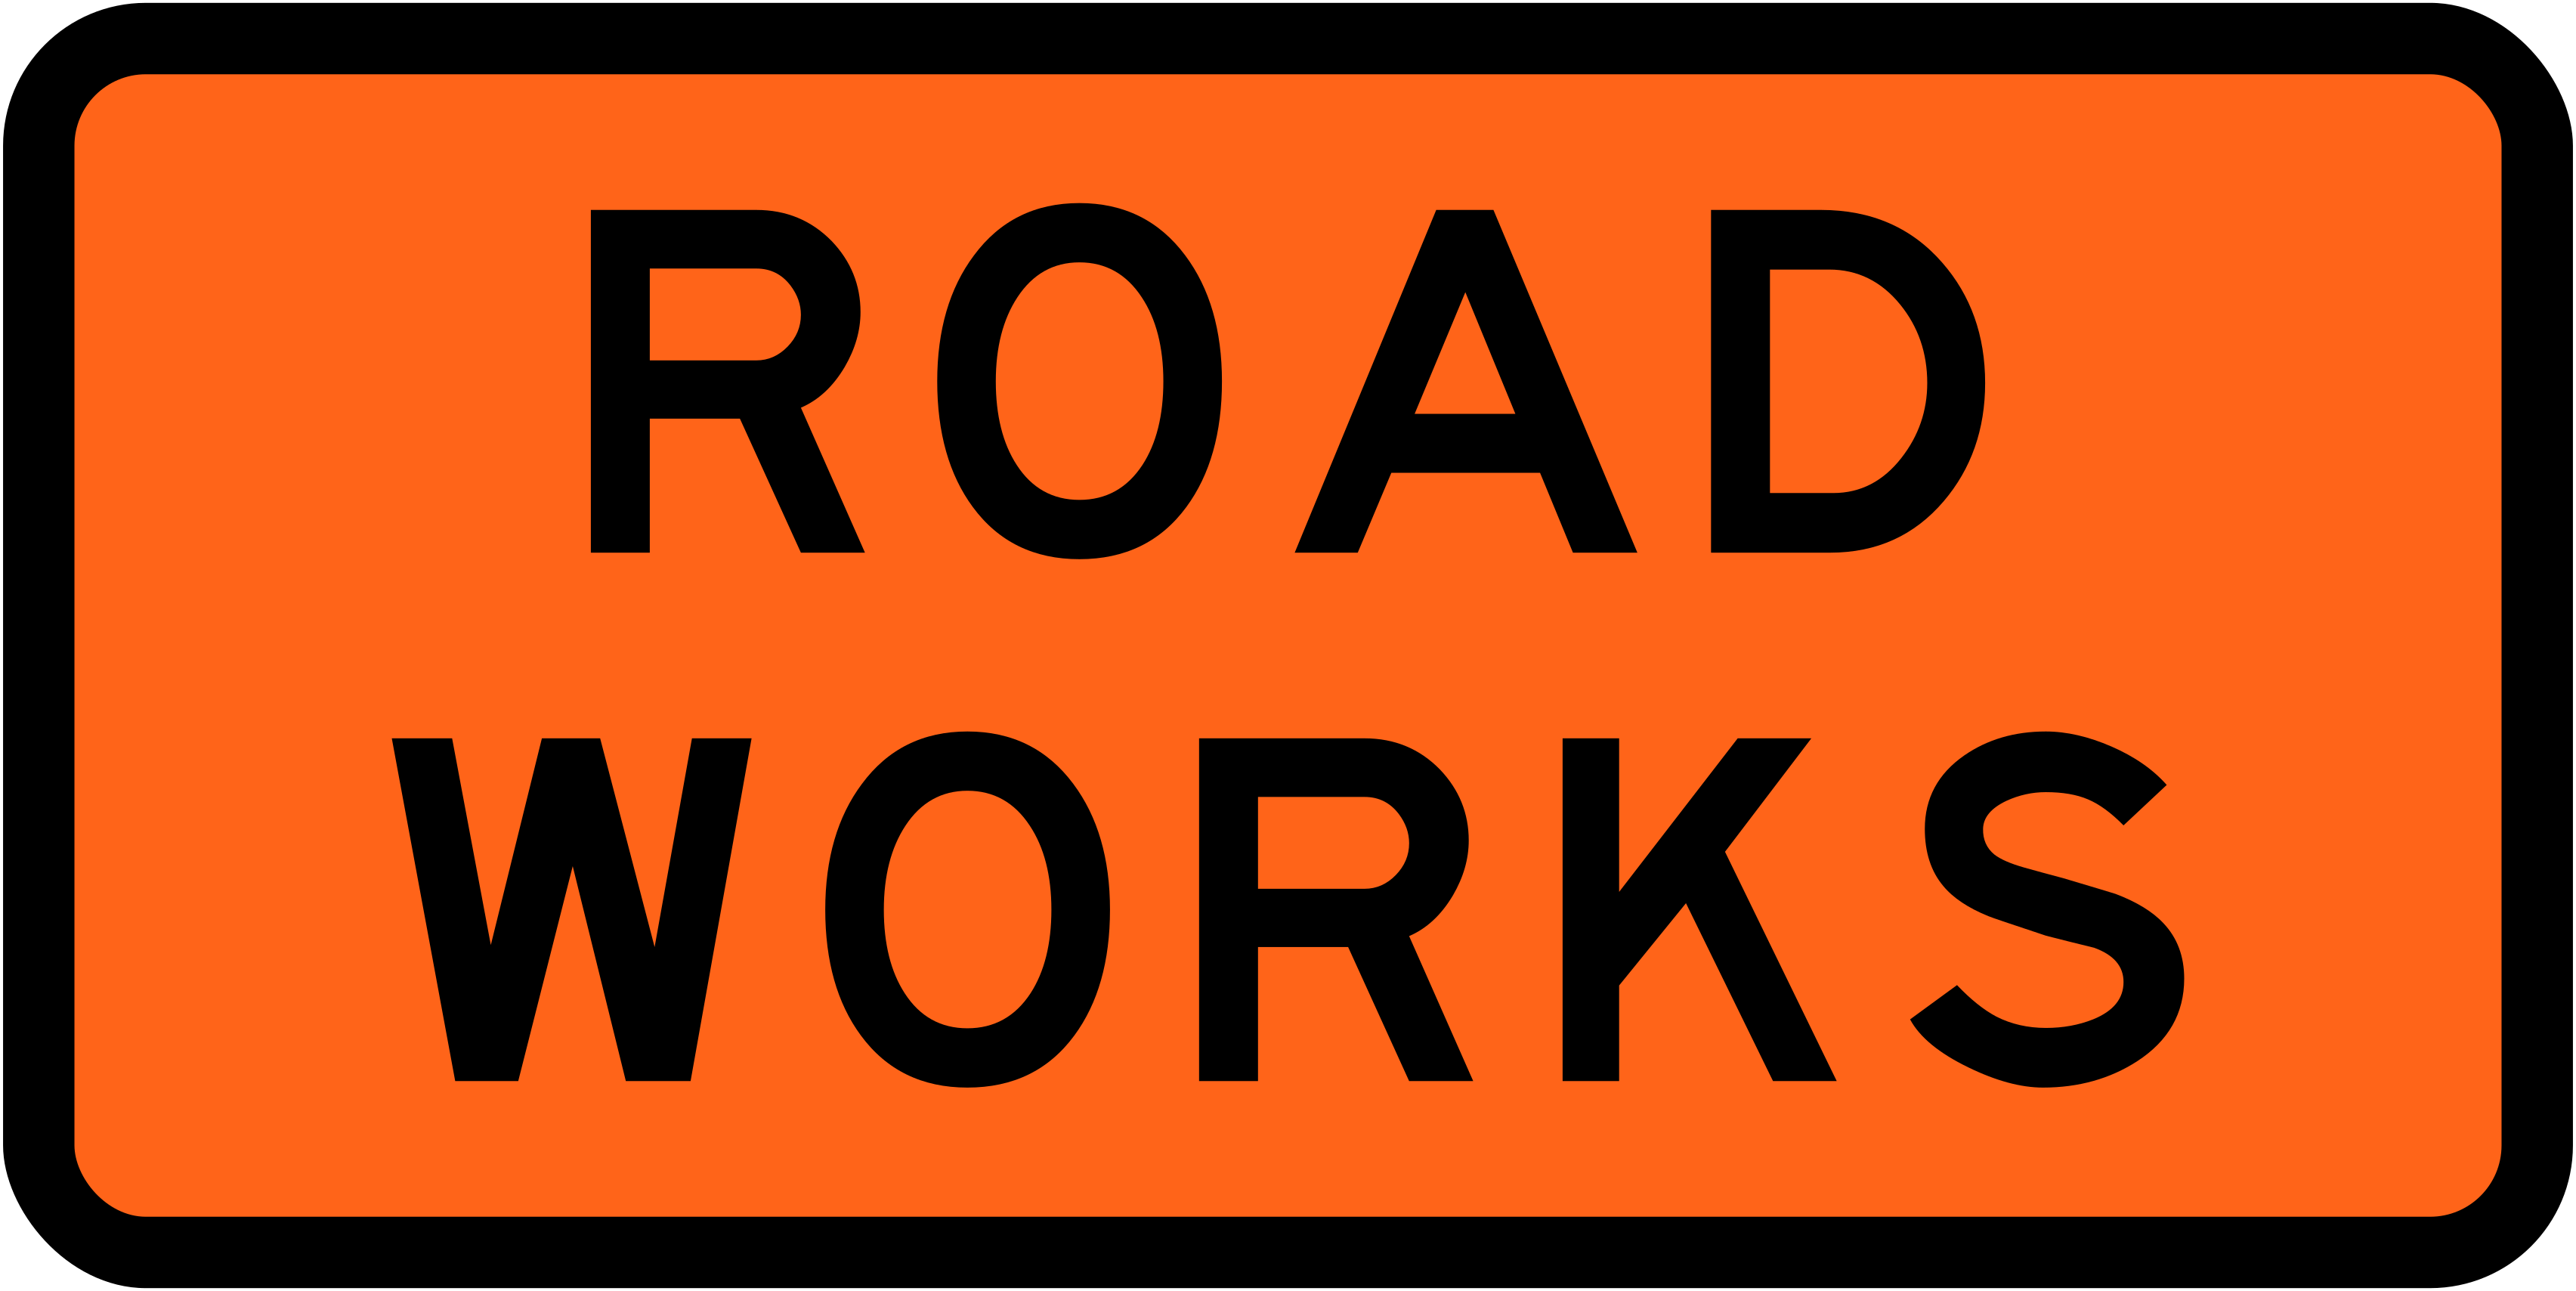
- Temporary: orange and black (e.g. roadworks, lane closed, slips, gravel surface)
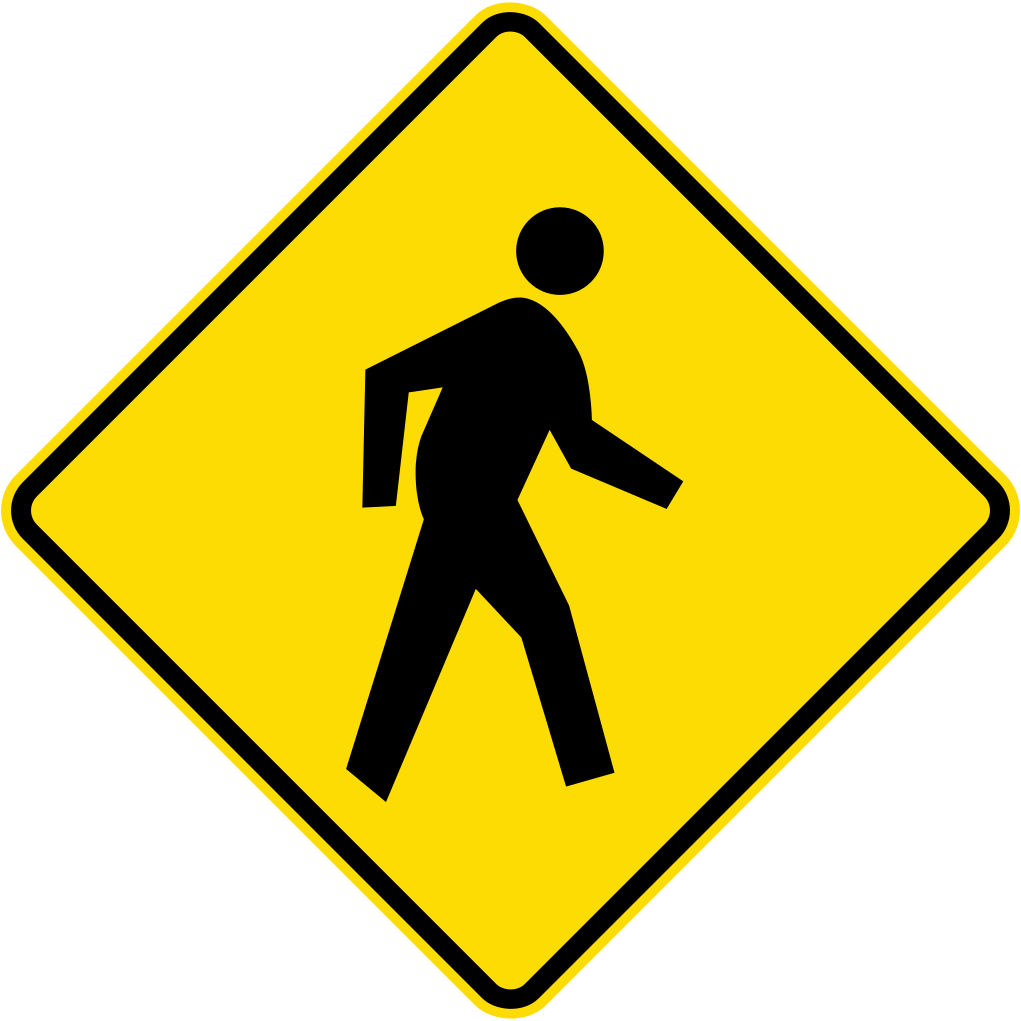
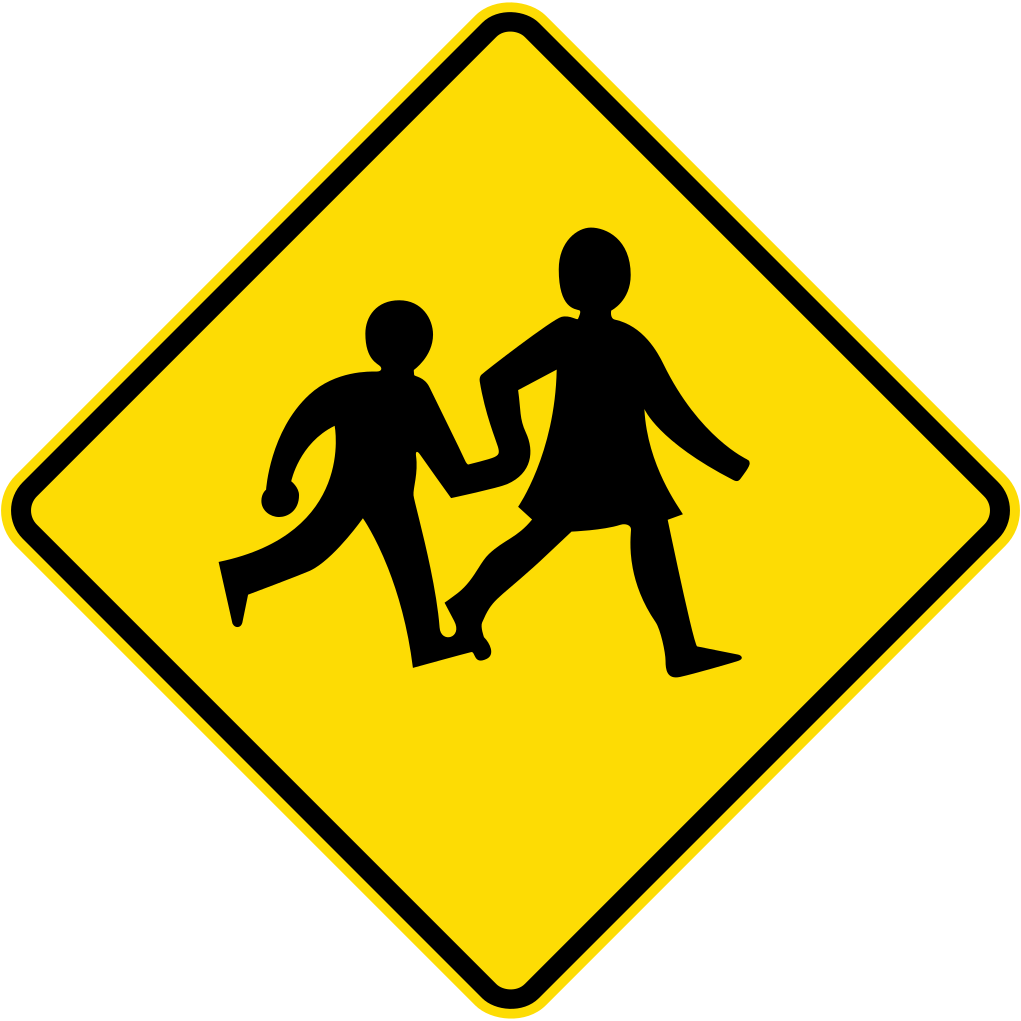
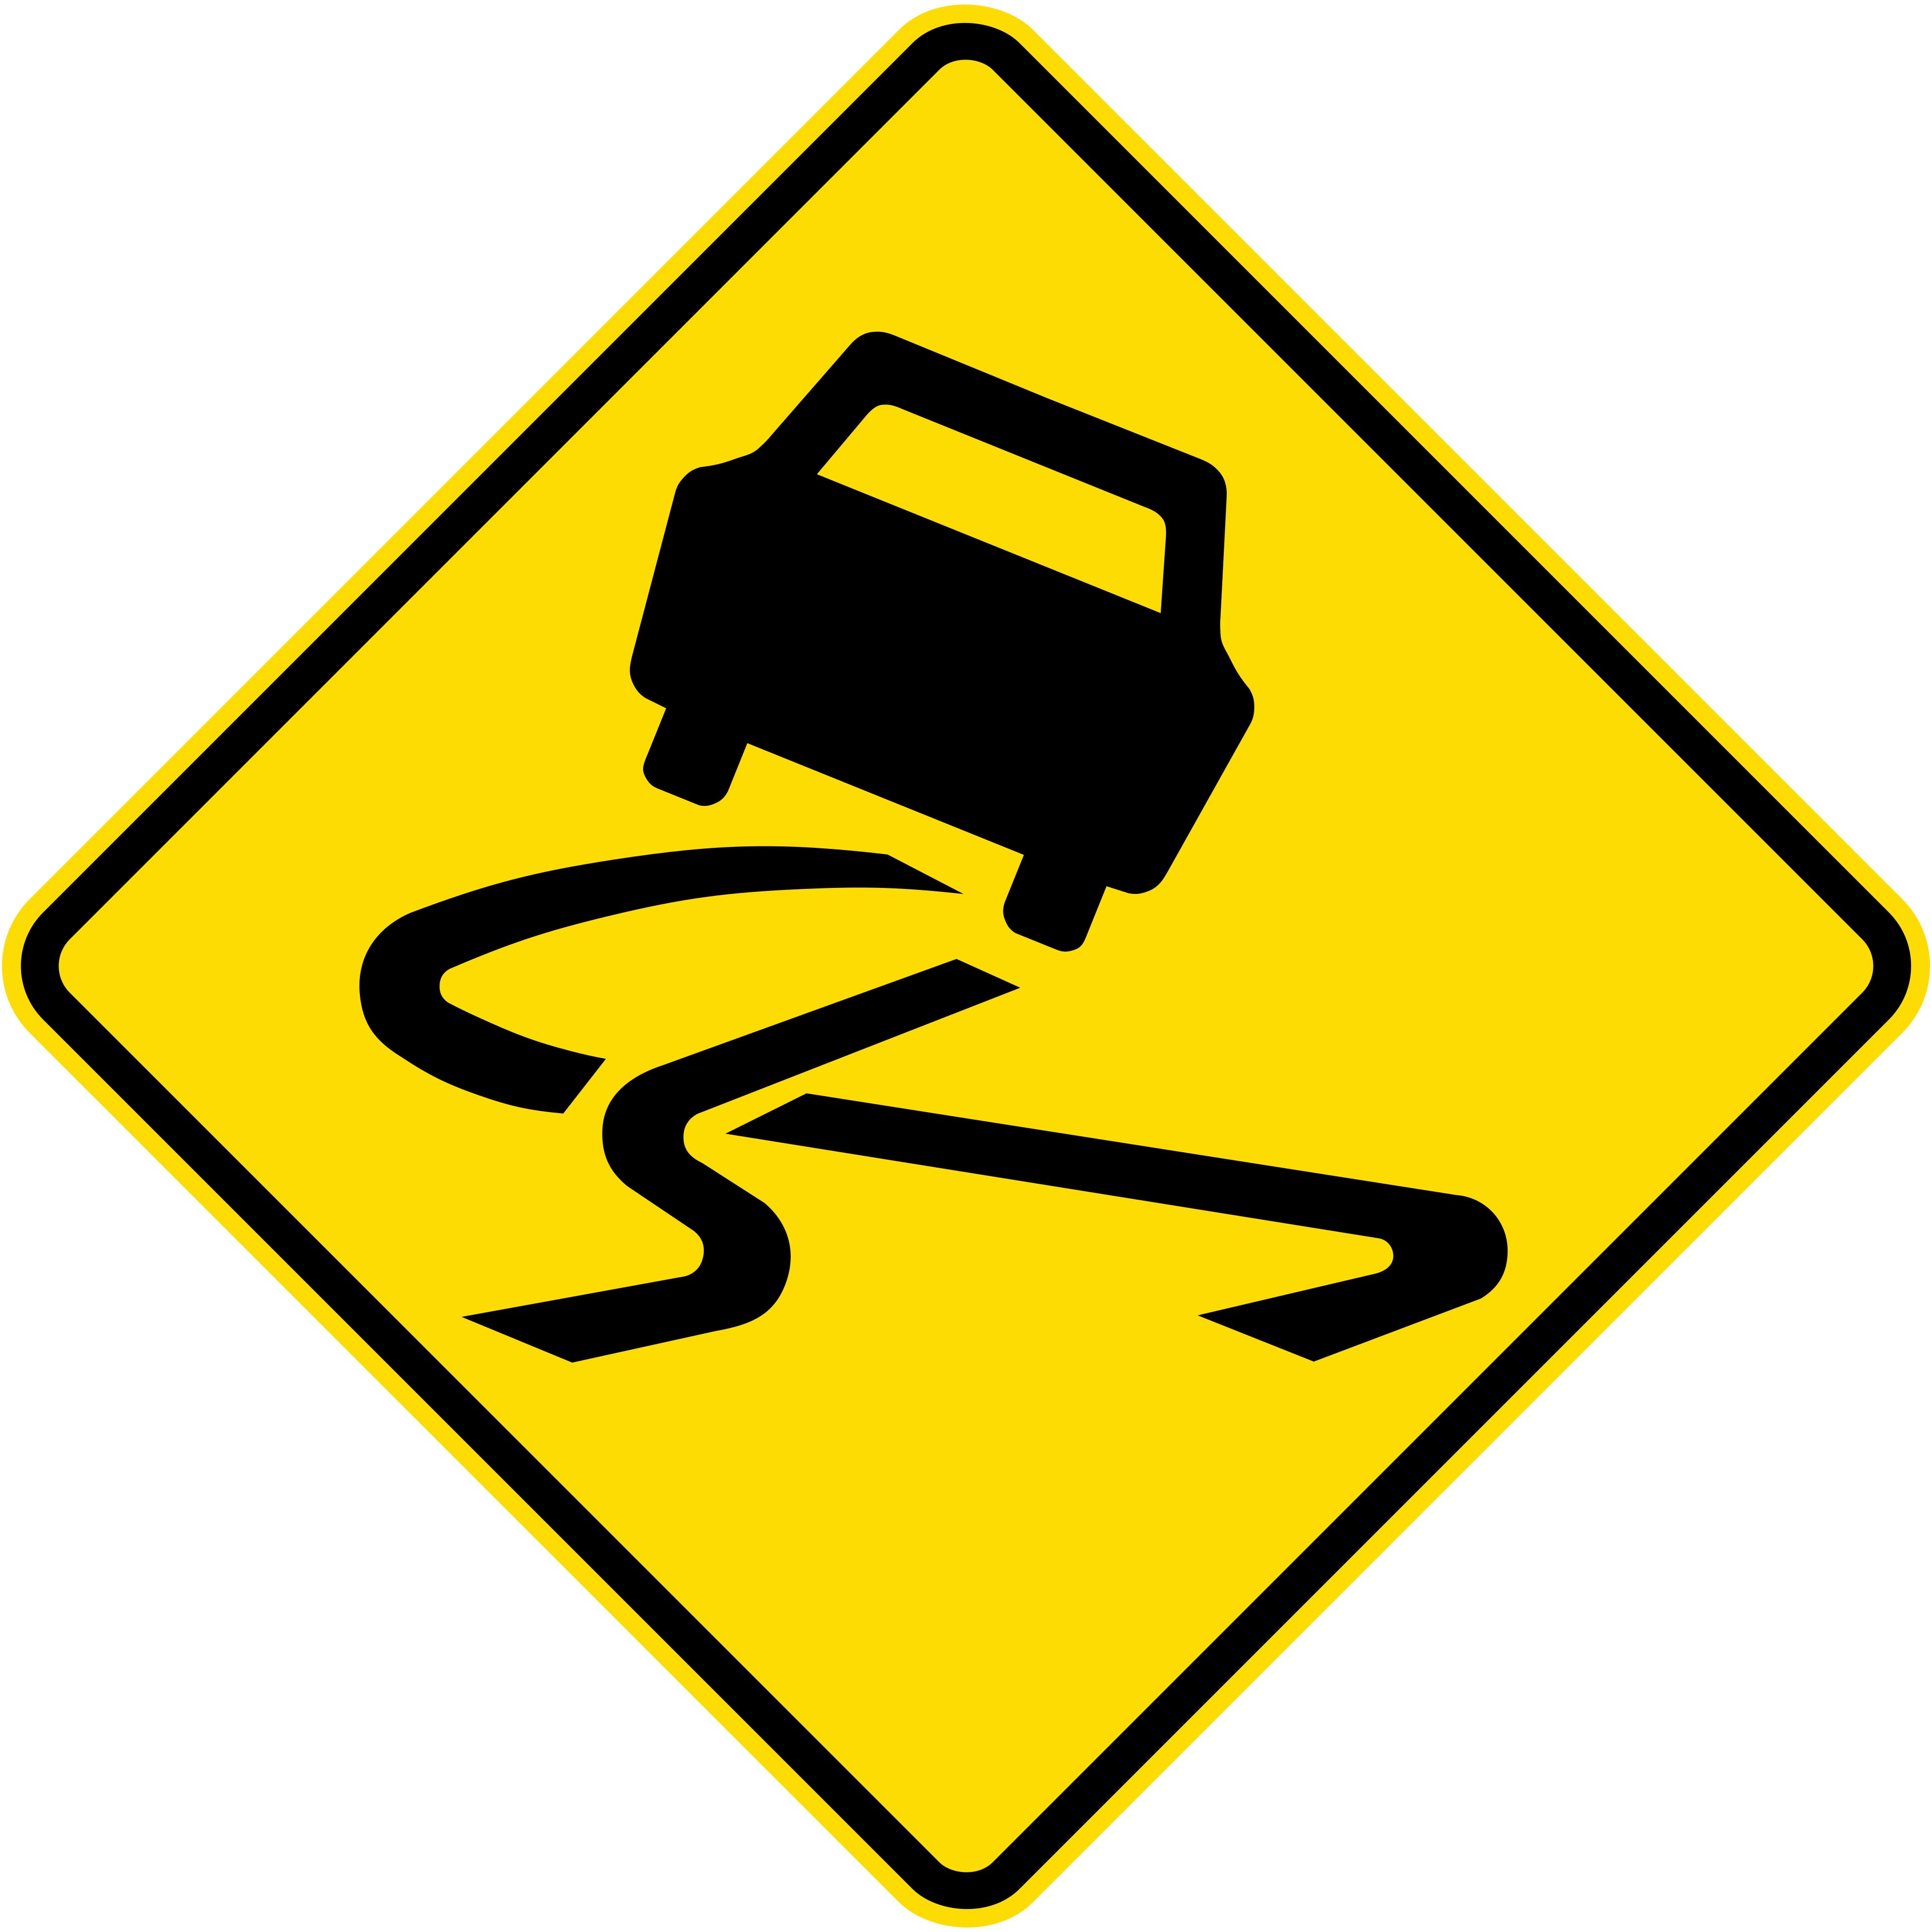
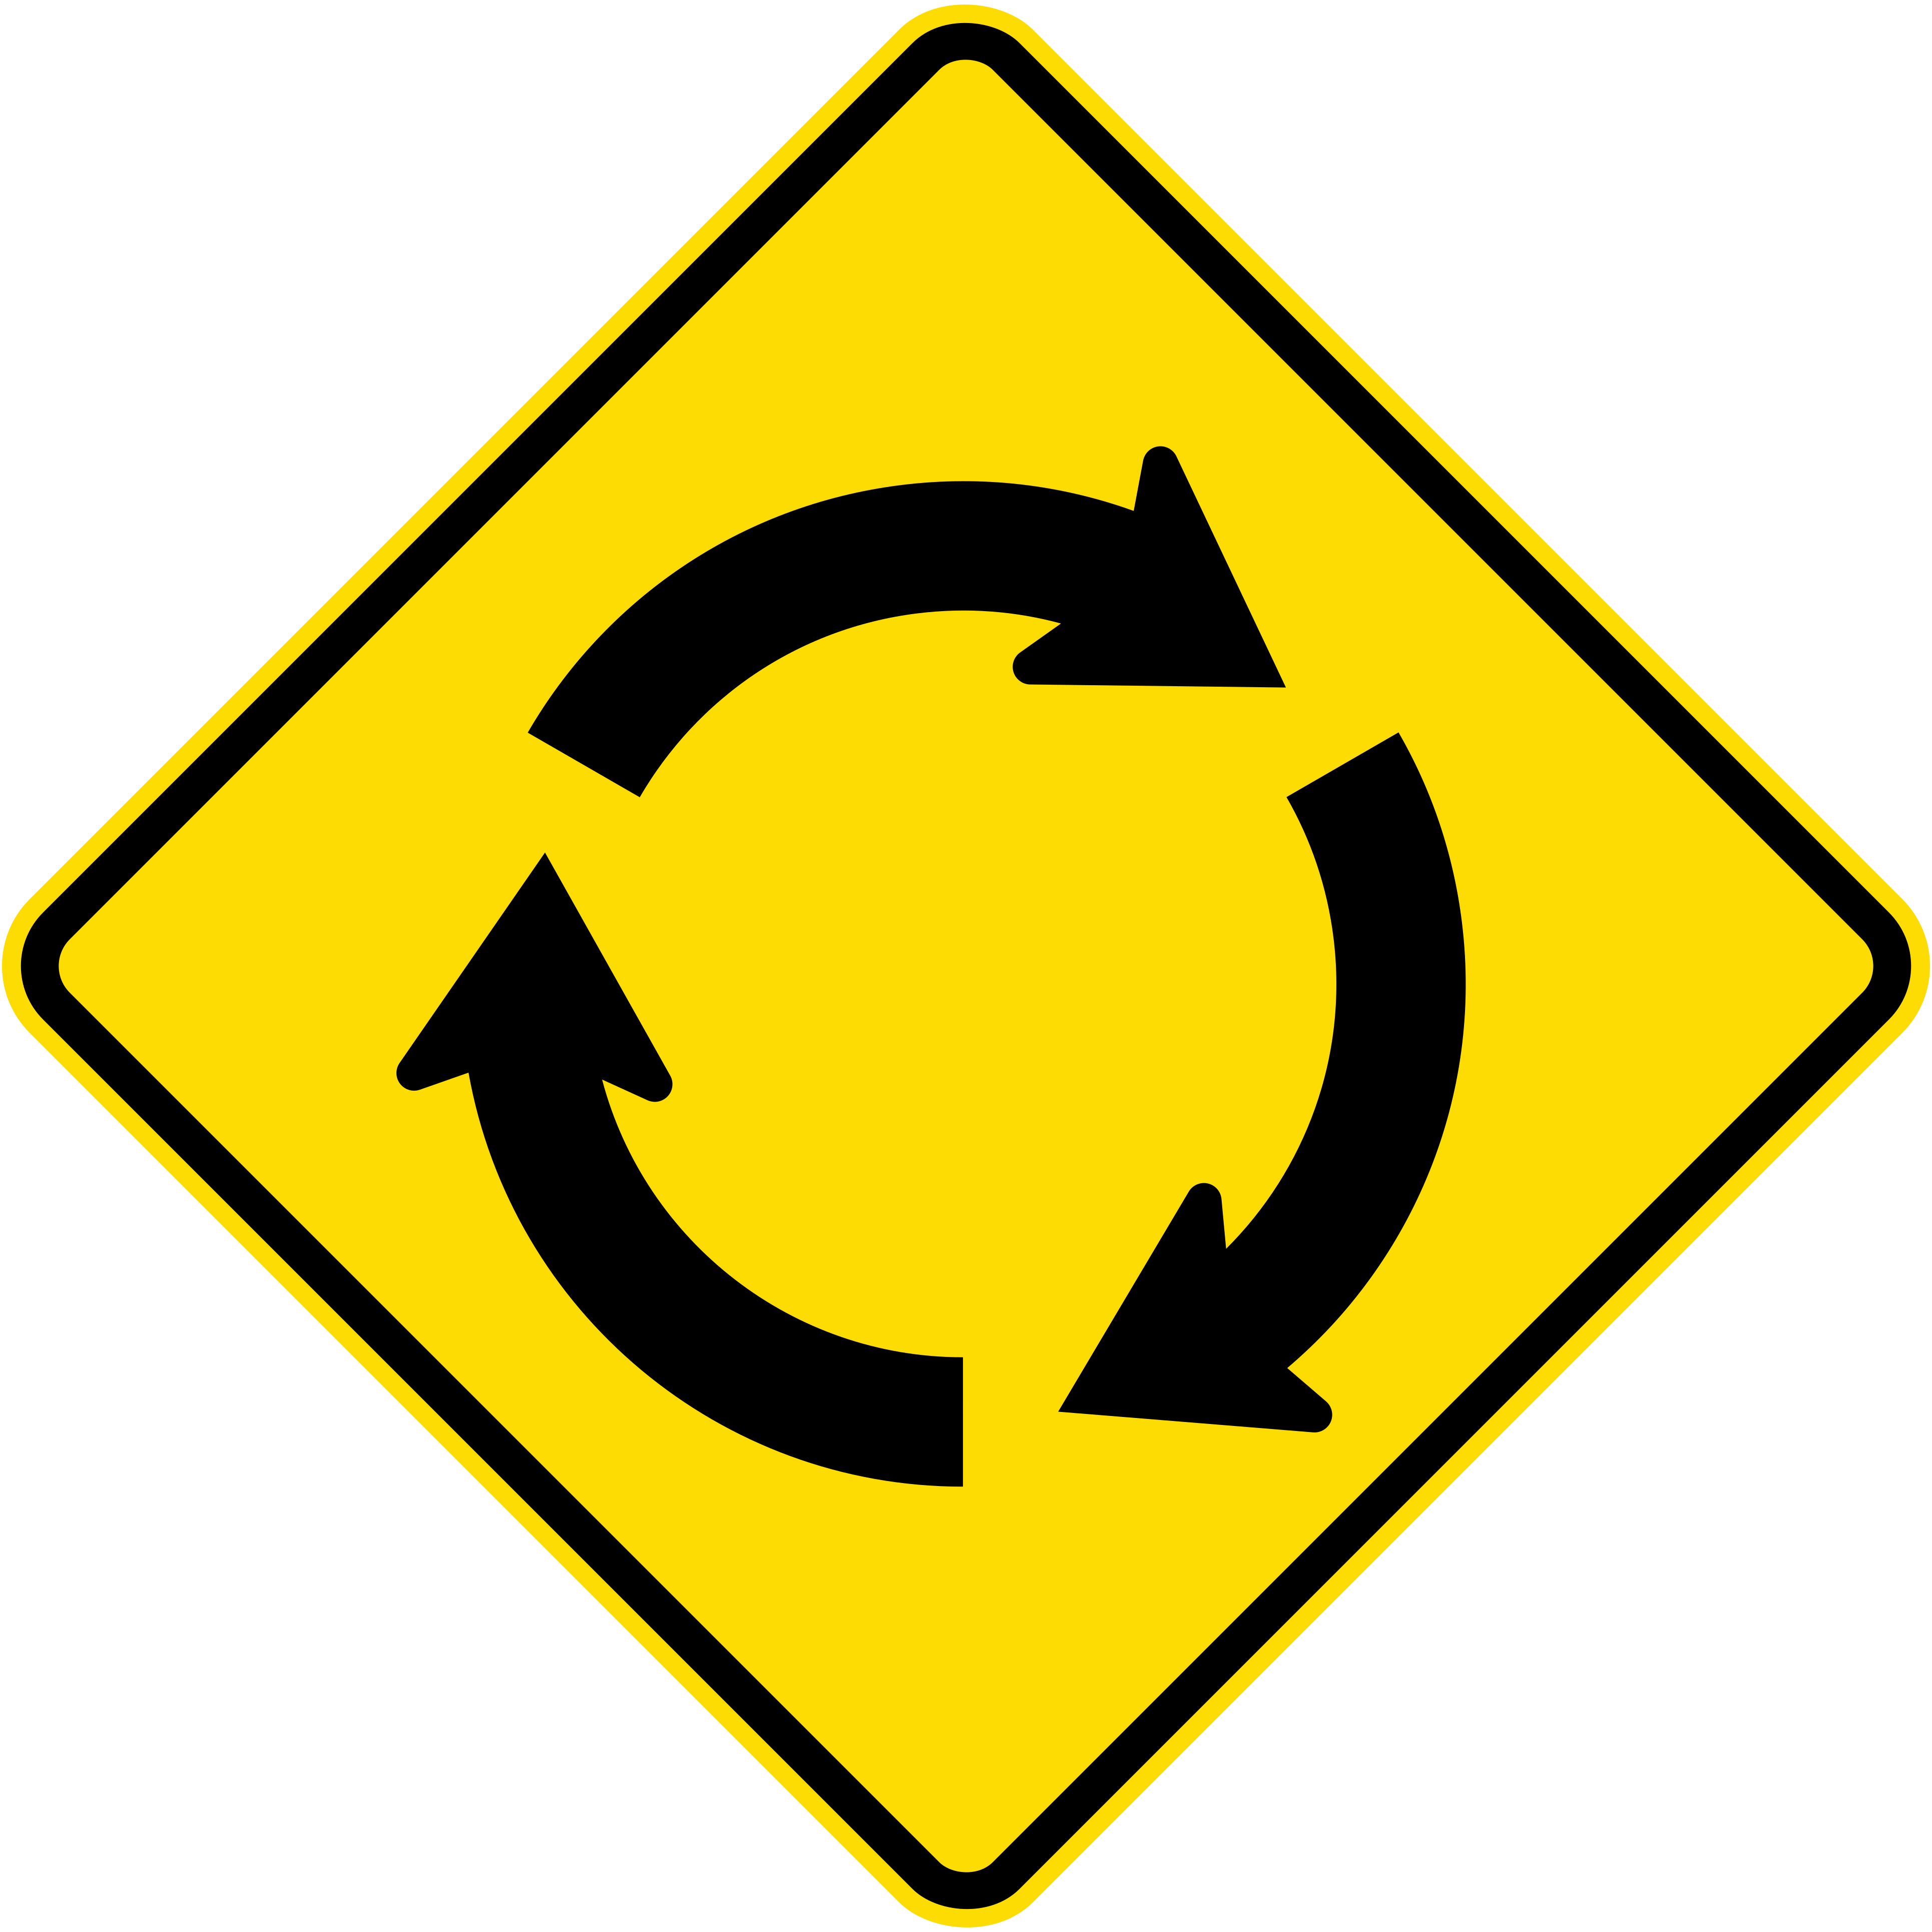
You may also see bilingual signs (te reo MÄori and English), such as a kura / school sign.
Information signs
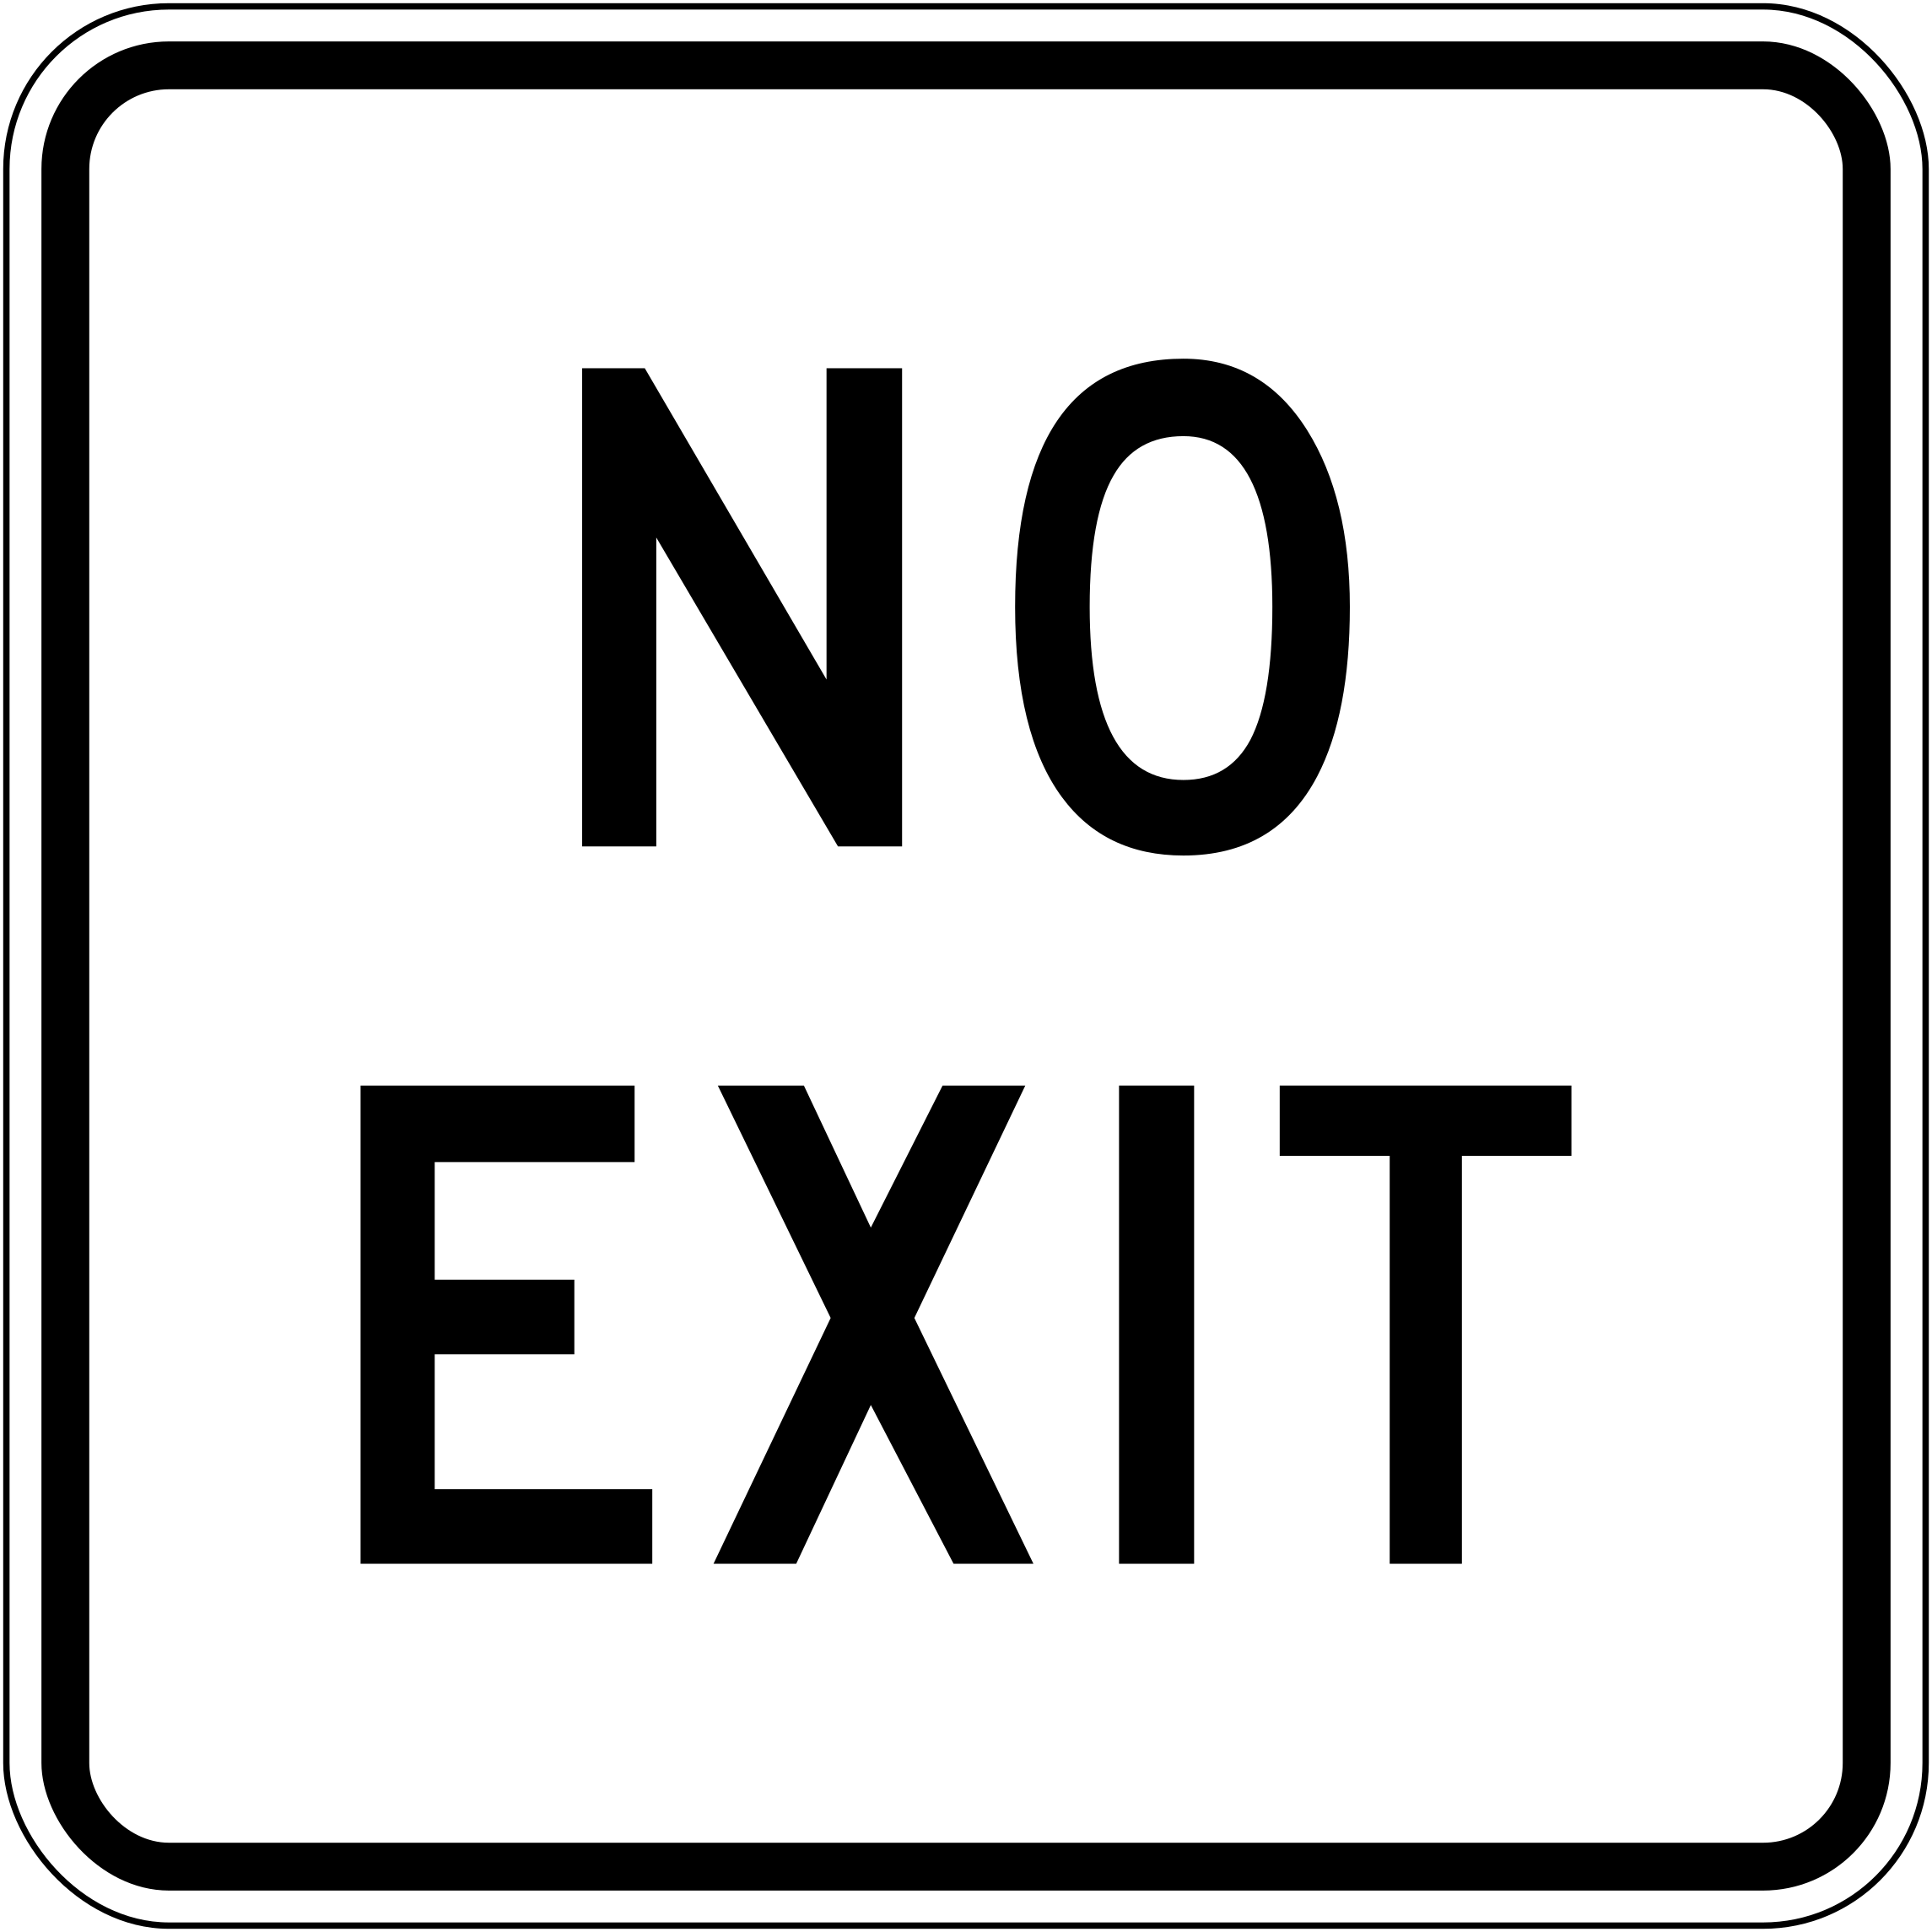
Information signs give useful guidance - for example distance to the next town, state highway numbers, directions at the next intersection, or the way to an information centre. They’re rectangular, in a range of colours and sizes.
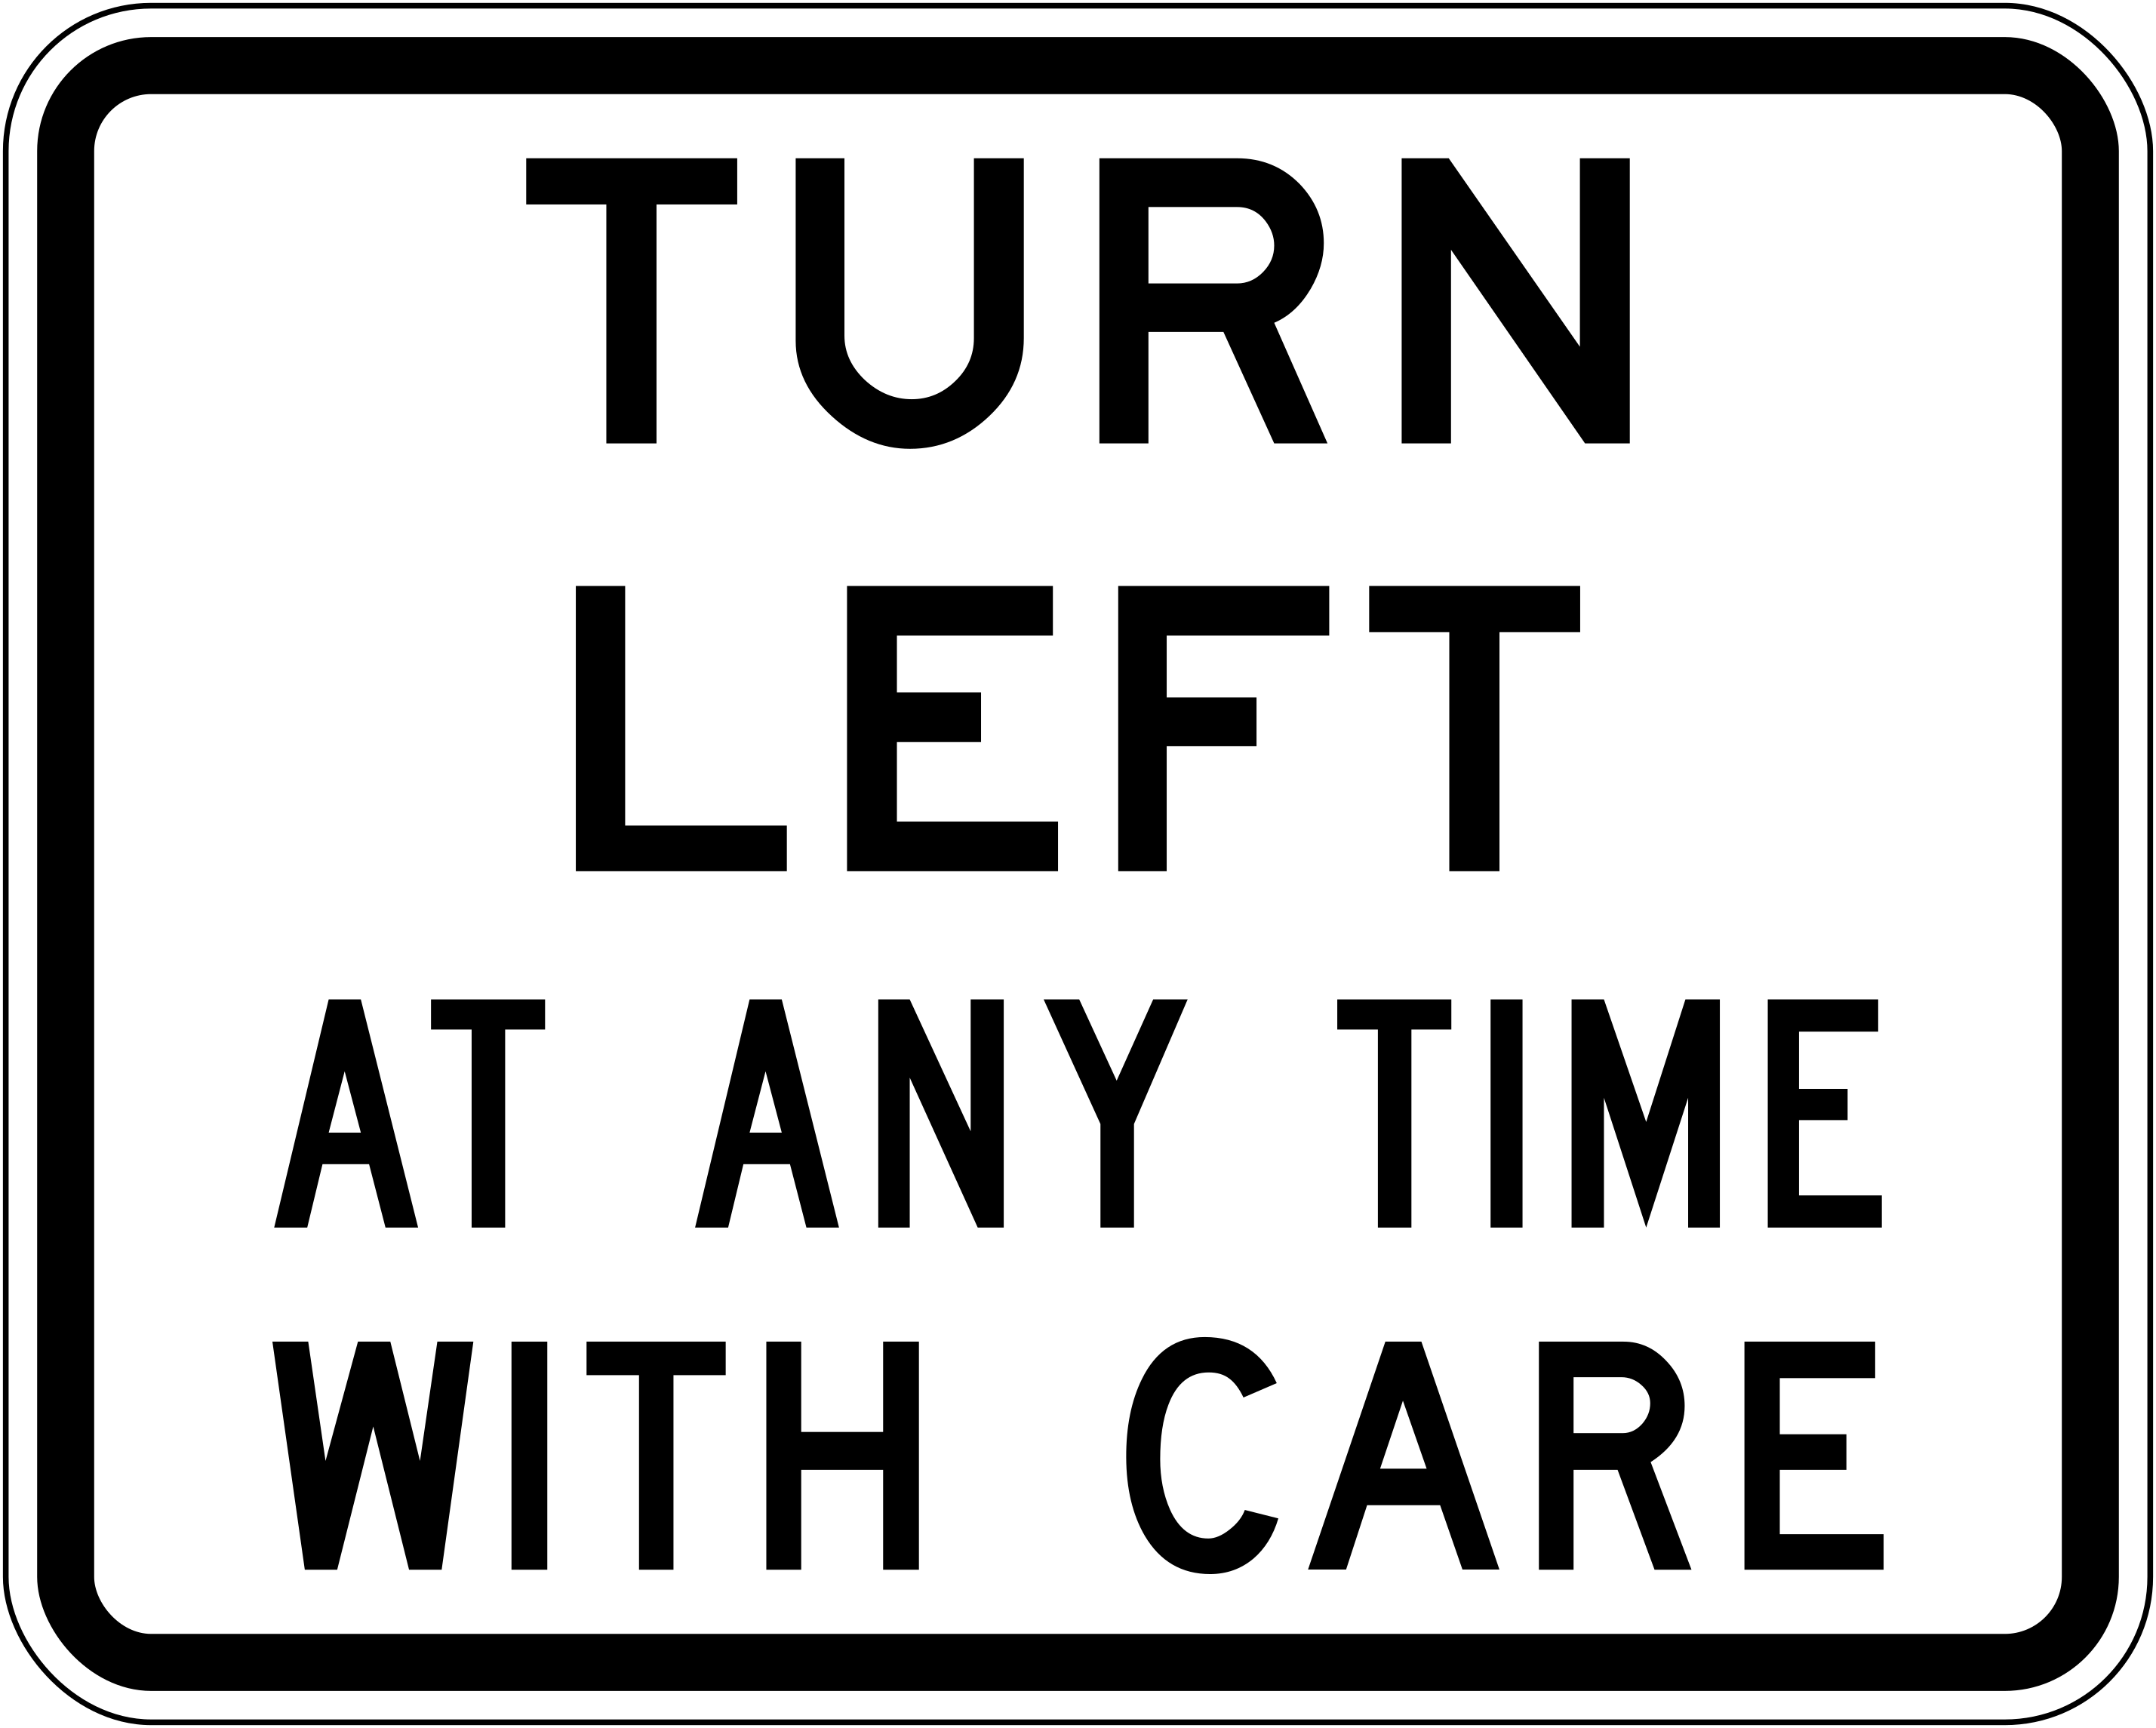
Some information signs also remind you of give-way duties (for example when turning left at signals) - always read the full message.
How to study signs for the theory test
- Learn the three types first (shape + colour family), then individual meanings.
- Drill Stop vs Give Way until you can’t mix them up.
- Practise bus / bus-only / transit questions with the exact wording.
- On the road (as a passenger), call out signs - recognition speed matters under exam pressure.
Want the give-way rules that pair with these signs? Read Give way rules NZ. Heading into a roundabout? See Roundabouts NZ.
FAQ
What are the three main types of NZ road signs?
Compulsory, warning, and information. Temporary orange diamonds are temporary warning signs.
Do you always have to stop at a Give Way sign?
No - slow down, be ready to stop, and give way. Stop completely only if you need to. At a Stop sign you must always stop fully.
Who can use a transit lane?
Passenger service vehicles, cycles, motorcycles, mopeds, and vehicles with at least the occupancy shown (T2 or T3), unless the sign says otherwise.